Here are a Few Tips to Create Beautiful Revit 3D views
If you were to update our pitch documents and brochures that you wanted to present to potential customers, you might. Instead of simply showing drawings or photos, you wanted to include some cool 3D images from our Revit models that showed flashy buildings, shadows, realistic materials, and a sky in the background. You created these presentation images.
After a while, it must have become apparent to you that it wasn't as easy as you had thought. However, you got a few decent shots after a while. Here you can see how you can make your Revit models stand out with stunning 3D presentation views.
Anti Aliasing
An alignment that looks pixelated is called aliasing. Select Smooth Lines with Anti-Aliasing from the Graphic Display Options view to enable anti-aliasing. If your graphics settings in Revit don't have the Anti-Aliasing option, enable it from the Graphics menu.
Silhouettes
The graphic display options can be found in the settings of View. Choose a line that has a sufficient thickness in the silhouettes menu. Several detailed areas are inserted into the 3D view, giving it a sense of depth.
Ambient Shadow
Besides Shadows, Ambient Shadows are also available in Revit. In a cloudy atmosphere and when reflections are present, they reproduce natural lighting.
Go to View Settings > Graphic Display Options.
Make sure that Ambient Shadows are checked in the shadows option.
Cast Shadow
The graphic display options can be found in the settings of View, Select Cast Shadows from the Shadows menu. The Shadows setting can be found in the Lighting submenu. It is often a good idea to reduce the value to 20-30.
Consistent Colors Visual Style
Casual visuals are best suited to Consistent Colors. Despite not producing the most realistic results, it produces a decent result for conceptual views. Additionally, this style loads quickly and is very fast.
Sketchy Lines for Conceptual Views
You can use sketchy lines to create a 3D view that looks like a conceptual sketch. It represents the current stage of the project when it shows to a client. Early in the design process, it is best to avoid overly realistic views. You can find Sketchy Lines under the Display Options menu.
Hidden Line Style with Materials Accent
The Hidden Line style can be used instead of Consistent Colors with a touch of accent colors. To fill the glass material with a solid pattern, go to the Materials tab in the manage window. You can see from the 3D view that everything except the windows is white.
Gradient Background
Revit's gradient background is one of the most underused tools. While the default colors are fine, you can get some interesting and artistic results by experimenting with different color schemes. Select the background submenu from Graphic Display Options. Decide on the horizon color and sky color.
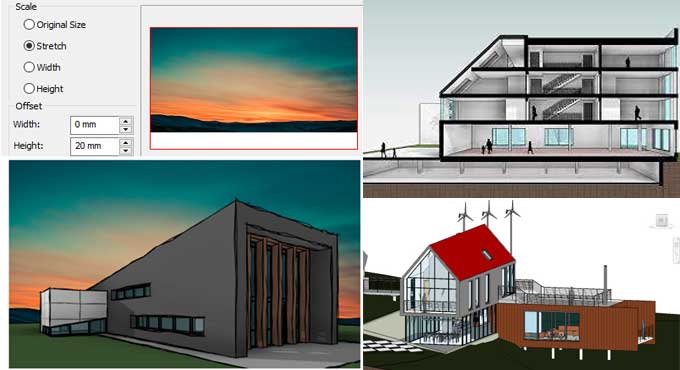
Background Image
Using a .jpeg background may provide a more realistic look. Select the image you would like to use as your background on the background tab. Adjust the height with the Offset tool.
Wrapping it Up
The primary benefit of Revit is, inherently, its 3D approach to designing, meaning a user can produce 3-D drawings for many different purposes quickly and easily. However, compared with Sketch Up and 3DS Max renderings, Revit lacks the realistic feeling of a napkin sketch.
Currently, Revit renders can make presentation-quality thanks to its built-in rendering engine, which has improved over the years. Showcase, a recent offering from Autodesk, lets you quickly render different options and create presentations. But you need to provide your client with a quick and aesthetically pleasing image that can also quickly produce.
To get online demonstration, watch the following video tutorial.
Video Source: Revit Pure
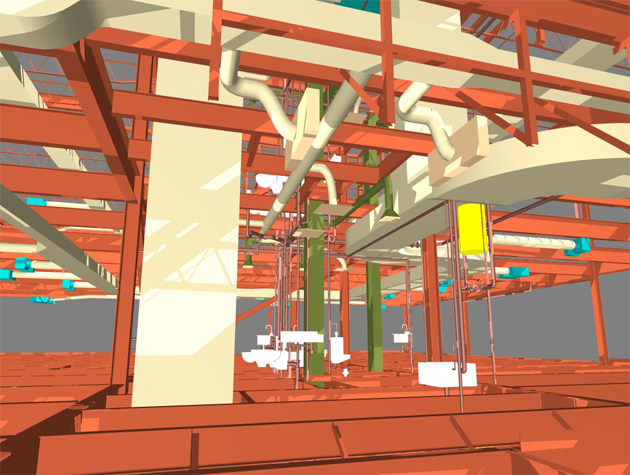
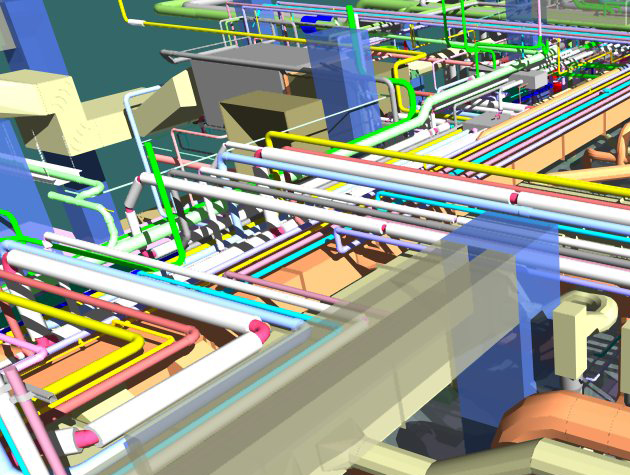
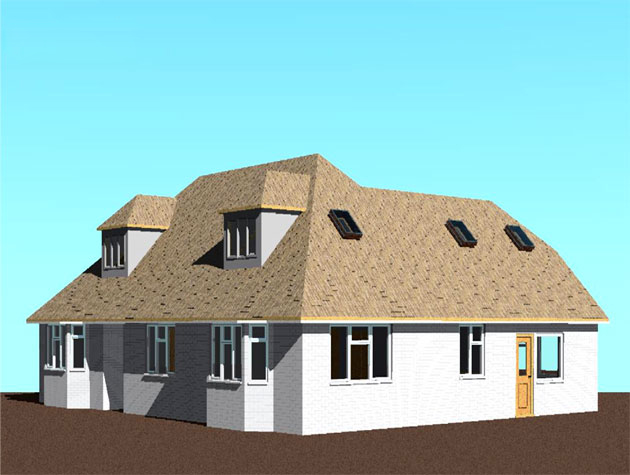
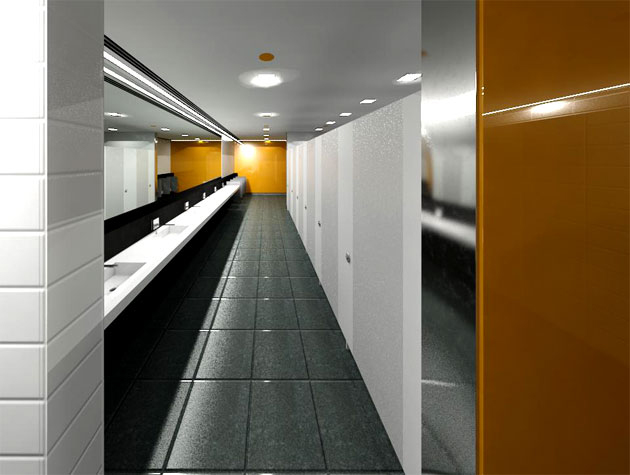
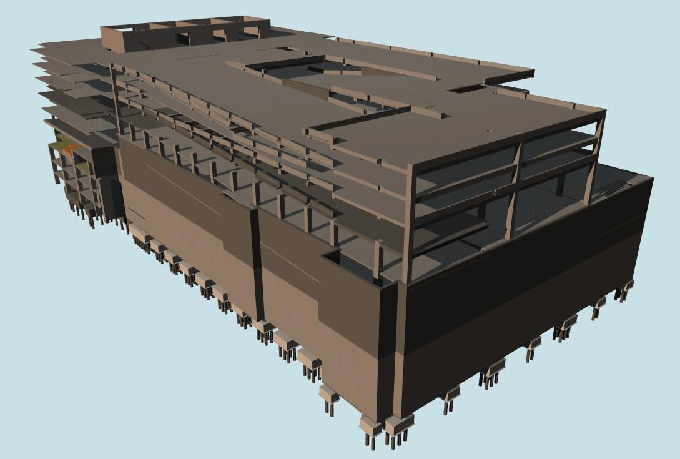
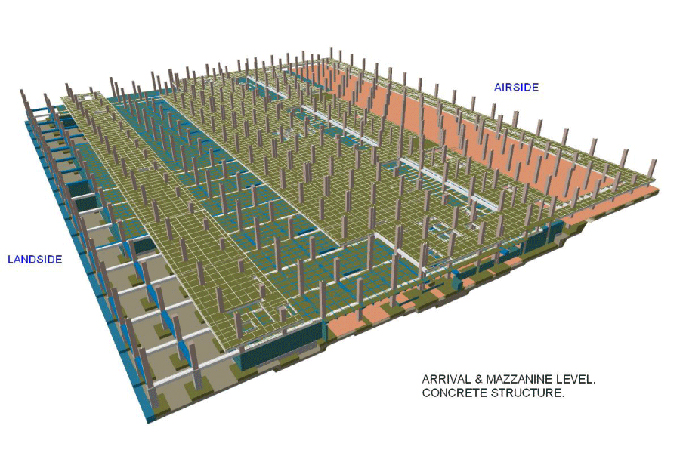
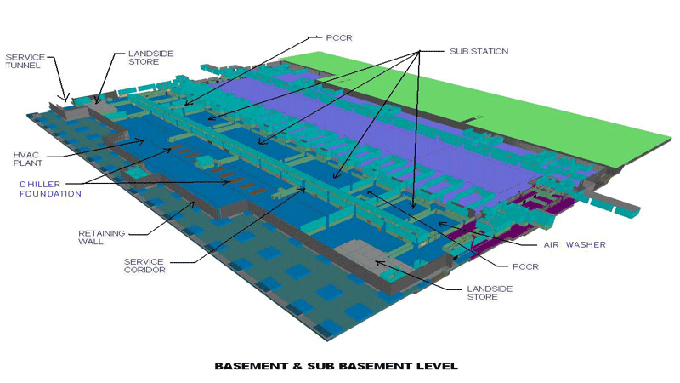
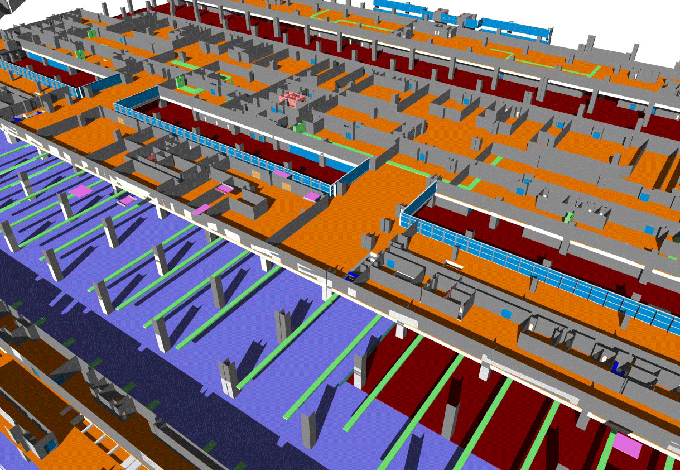
Gallery
Feel free to contact us for BIM requirements. One of our representative will respond you within 24 Hours. Send us your projects requirement today and grow your project.
Explore More !