How to Create a Section in Revit
Tweet
Section views in the Revit software help to create quality 3D design models, which have been used for design verifications. There are several valuable design options and settings available in the Revit software, which help to boost the design efficiency of users during the creation of the sections. In addition, users are also enabled to customise the looks and feels of the sections and make an innovative design output.
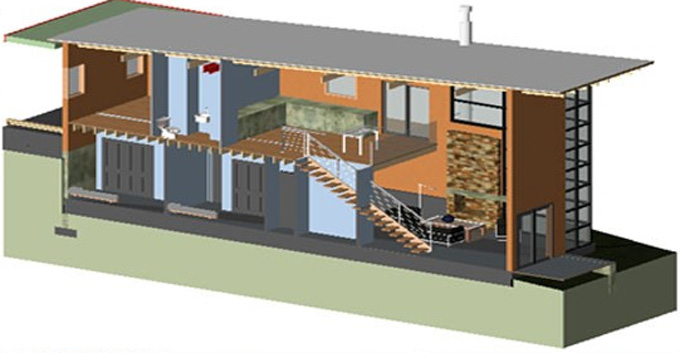
Through the Revit software, users are able to draw the sections in plan, elevation, section and detail views. The vertical views of the specific parts of the design models have been achieved through the Revit software. As an example, users can create a wall, a building and detailed section views with the help of the Revit software.
Section lines in the Revit software
Users are able to customise the section lines, and this can be done by going to the manage tab. This tab helps to find the object style feature. In this object style feature, users can find the annotation objects tab, in which several categories are present, including section line. Through this section line option, users can change the colour of the line, as well as the pattern of the line, as per their design requirements.
Split sections in the Revit software
Through the Revit software, users are also able to split the sections, which helps to show different planes in the same view. In this case, users have to create a section. After placing this section, users get the split segment option. This option enables users to access the scalpel tool, through which users can cut the section line as per their design needs. In addition, users can also move each of the segments independently, as well as split the sections as many times as per their design requirements.
Creation of the new section types
Users are able to duplicate the sections and can also create new section types through the Revit software. Users can use filters to show or hide the section types. For creating new section types, users have to select an existing section and click on the edit type option in the properties box. In the next step, users have to click on the duplicate option from the type properties box, which enables users to give a name to the new section type. Thus, the new section type has been created in the Revit software.
Users are able to customise the graphics of the section head, which gives different looks to sections from the other sections. A view template can be applied to the new section type. As a result, while cutting a section by using this section type, it can create the section view automatically with the correct view template.
How to create a personalised view template
For creating a personalised view template, users have to follow several steps, which are as follows:
➢ At first, users have to go to the View tab of the Revit software, and have to select the Manage View Template option from the View Template drop-down button and which can be found on the graphics panel of the Revit software.
➢ In the next step, users have to select one section template that has been listed under the names area of the view template dialog box.
➢ In the next step, users have to click on the duplicate button and has to type the name for the new template.
➢ In addition, users can also adjust the settings in the new view template to meet their design requirements.
Assigning the personalised view template to the personalised working section
For assigning the personalised view template to the personalised working section of the users, users have to follow several stages, which are:
➢ At the first step, users have to place and highlight the personal working section.
➢ In the next step, users have to select the edit type option in the properties palette of the Revit software.
➢ After that, users have to select the button that is labelled “
➢ In the next stage, users have to select the appropriate working section view template from the Apply View Template dialog box.
➢ Next, users have to click on the ok button to save and exit the Apply View Template dialog box, and thus, the users can assign their personalised view template to the personalised working section.
How to find section views in Revit software
The sections have been listed in different places in the Project Browser.
1. The building section views have been found on the building action branch.
2. The wall section views have been found on the wall section branch.
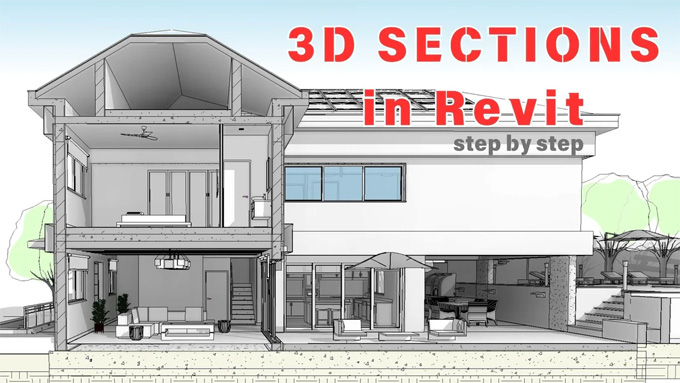
To get online demonstration, watch the following video tutorial.
Video Source: ArchiTech
3. The detail views have been displayed on the detail views branch.
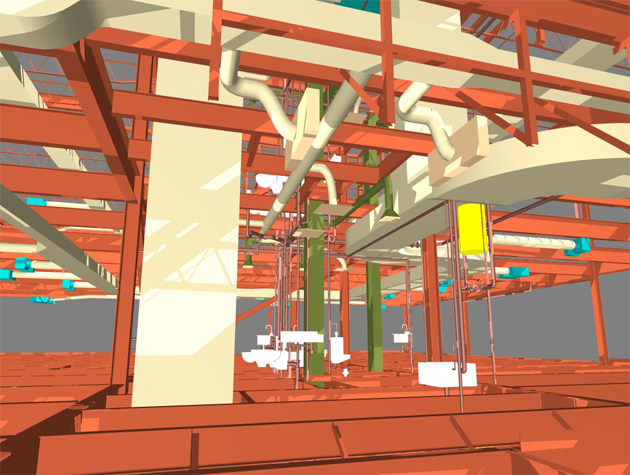
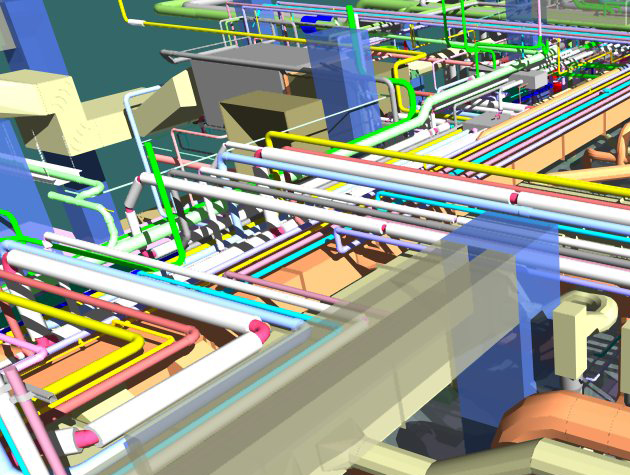
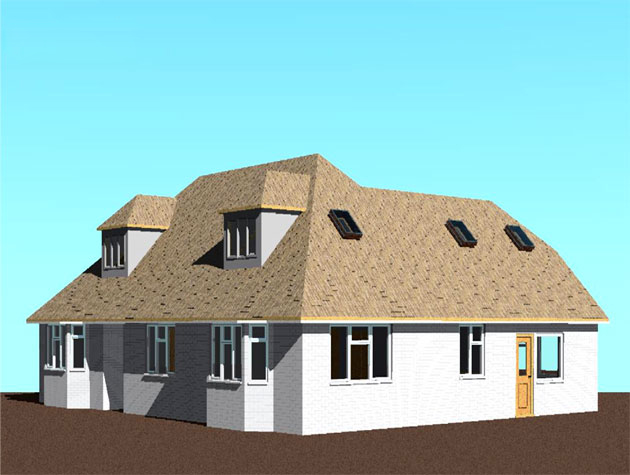
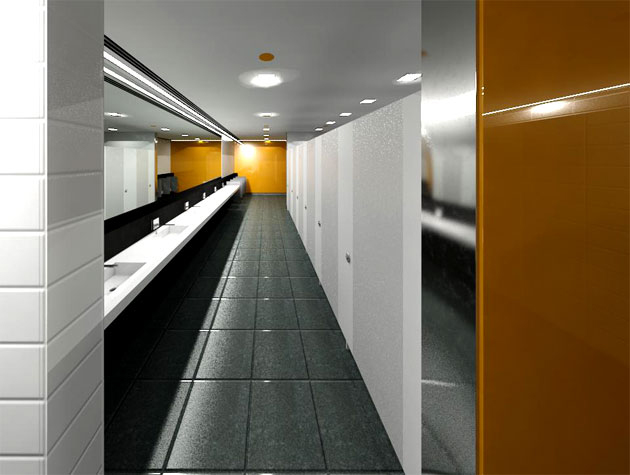
Gallery
Feel free to contact us for BIM requirements. One of our representative will respond you within 24 Hours. Send us your projects requirement today and grow your project.
Explore More !