Workflow Tips and Tricks for Exterior Rendering in Revit and Lumion
Modeling in Revit is like manipulating clay. You can mold and modify your project however you see fit. Adding a little more length to the exterior walls or raising the roof's pitch will make the house seem larger. You may have to remove a wall in the kitchen or the living room might be too small.
You can use Lumion Live-Sync to connect Revit and Lumion, however you want, to make any changes to your model. You will be able to explore your project in a photo-realistic setting and gain a better perspective on how the spaces will feel and look.
Key Steps
Downloading the free Live-Sync plug-in is the first step. There are two components to it:
1. Live-Sync
2. Collada (.DAE) File Exporter
Live-Sync directly integrates into Revit. The Lumion tab can find by locating and clicking on it. After doing this, you press the Play button on the Lumion ribbon. It may be necessary to re launch the program if you can't find it. You open Revit as well as Lumion.
? A new scene can open in Lumion, or an existing scene can load.
? For Live-Sync to work, switch to 3D view in Revit.
? During Live-Sync, if you don't have Lumion open, you'll be asked to launch it.
The real-time link will begin as soon as you click the Play button in the upper right corner. There may be any number of factors affecting how long it takes for the model in Lumion to appear, but once it does, you can view it in the software.
Tip for enhancing workflow convenience
Keeping a consistent Revit project file location will help you maintain a smooth, convenient workflow experience.
The consistent location of files between Revit and Lumion will ensure that the link between the two programs remains even after either program is closed. Thus, your project in Lumion will automatically be updated when you restart Live-Sync with Revit when working independently.
The Best Ways to Speed up Workflows with Live Sync
Lumion has imported your Revit model. Learning how Live-Sync works in real-time will assist you in improving your workflow and adopting more efficient methods.
In Lumion, you can, for instance, automatically update some things that you do with Revit, such as:
1. Modeling and moving other objects.
2. Adding objects to the list.
3. Revit materials can change.
4. Objects can be deleted.
Despite its simplicity and speed, Live-Sync is not for rendering design. As opposed to modeling and working in Revit, it designs to visualize your model. Lumion enables you to add high-quality materials and surrounds as well as render your model. Therefore, you should export your Revit model as a Lumion file.
Move towards Live-Sync in Lumion
You should see the Revit model in Lumion after you hit Play, & then you wait for the live link to establish. The Lumion Revit Live-Sync model positions by default near the scene's axis. Your Live-Sync model and terrain might not automatically match. The Live-Sync model can move by selecting it in the Move mode in Lumion. Objects can now move, rotate, scale up or down, and their height can adjust.
How to Edit Your Project's Materials?
Live-Sync is very different from imported models or any other model or object in Lumion. Live-Sync is a truly unique model, and one of its first features is that it does not support Lumion's high-definition materials.
When Live-Sync Revit objects are used, Lumion materials are essentially disabled. When your model exports, then you will see these edits automatically in Lumion. But you have to export it again to get a photorealistic rendering.
Furthermore, the following properties are converted when exporting into Lumion as Color, Tint color, Color texture, Color texture brightness, Bump texture, Bump texture brightness, & automatically converted glass.
In addition to working with Revit, Live-Sync supports exports of ceramic, concrete, generic, glass, masonry, metal, glossy paint, mirror, plastic, solid glass, stone, wall paint, water, and wood.
Modifying the Revit Model
Suppose you're designing a home in Revit but don't want to put a window in the kitchen. To better understand how the window influences how a kitchen appears, remove the window from Revit and then view it in Lumion. The Live-Sync tool lets you see structural changes and other major changes to your 3D model in real-time, helping you make decisions in a slick and efficient manner.
Using the Settings of Live-Sync
There are options for Playing or Pausing Live-Sync, Stopping the Live-Sync, and setting up the plug-in in Revit.
These settings can fine-tune according to your needs. Live-Sync Settings include the following options:
- You can choose between a shared coordinate survey point or a project base point as your origin insertion point.
- The function of surface smoothing is to compress the image geometry. Associated with your model's graphical detail is this slider. The model will become more detailed as these slides to the right, but the file size will increase.
Exporting the Live-Sync Model
You also get the Collada (.DAE) File Exporter when you download the plug-in for Live-Sync. A DAE file is exported from Revit into Lumion by the Exporter when using Live-Sync. This method is perhaps the most effective way to go from Revit to Lumion since it's also the quickest. The only issues you may encounter are in the materials or mesh definitions.
You can turn your model into a more realistic one by adding high-quality materials, contextual information, landscaping, and changing the terrain. Using Revit and simply refreshing the model in Lumion will also easily update the model geometry.
To get online demonstration, watch the following video tutorial.
Video Source: Joseph Kim
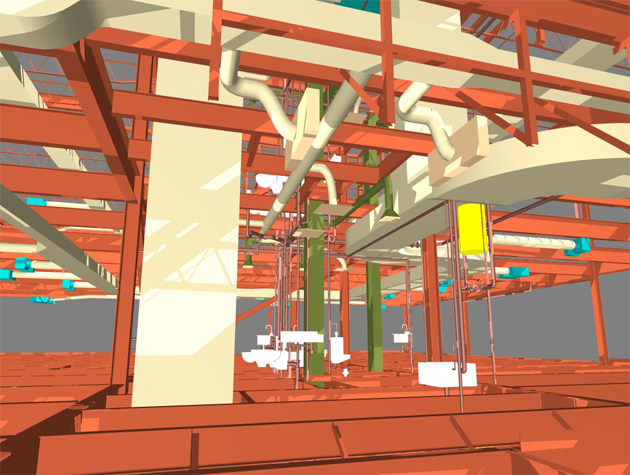
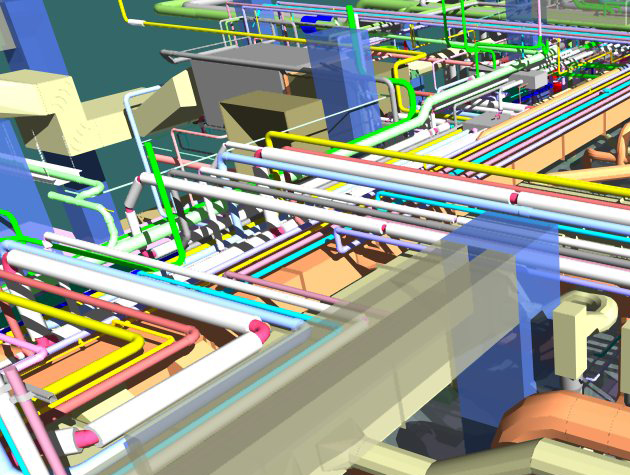
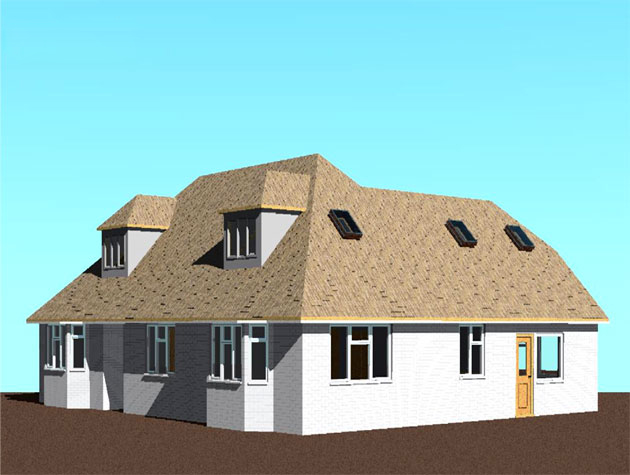
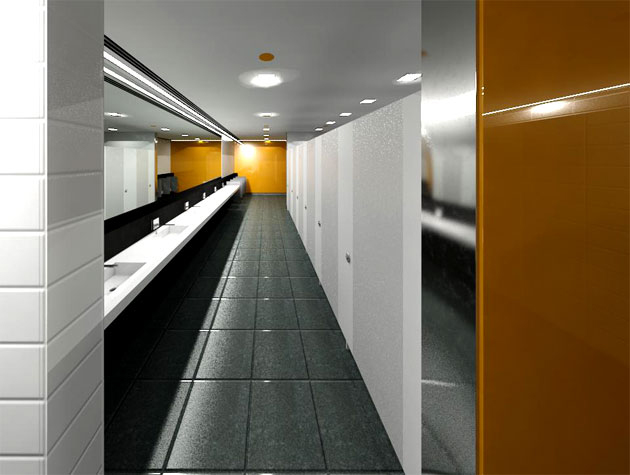
Gallery
Feel free to contact us for BIM requirements. One of our representative will respond you within 24 Hours. Send us your projects requirement today and grow your project.
Explore More !