A Beginner's Guide to Autodesk Revit 2022 Modeling
Building designs modeled in Revit as a virtual representation. Models mean to convey more than just geometry. Building designs are virtualized in Revit models. In addition to modeling the geometry of model elements, it describes the design intent and logical relationships among them as well. 2D models are slices of 3D models, and plans, sections, elevations, etc., represent slices. Every time one view of the model is updated, all other views are automatically updated to keep synchronized. A 2D view is created from a 3D model and is printed with a 3D model.
Interface of User
Opening Revit
You first interact with the launch screen when you open the application. There are roughly two parts to the launch screen.
On the top half, you'll find the Project area where you can return to a previous project you've worked on, open up a brand new project, or select templates like construction, architectural, structural, and mechanical.
You can also find thumbnails of your four most recent projects in the top half of the page. You can open existing Revit families or create new ones in the bottom half of the launch screen. In addition to thumbnails, this area contains some commonly used family names.
Drawing Interface
Depending on how you want to access the main drawing interface, you can either click on New on the launch screen or click on the R menu icon and select New. The first thing you will need to do is choose a template. The architecture template will be used in this tutorial. Despite its similarities to other CAD applications, Revit's drawing interface is somewhat different. You'll find instructions, a menu bar, a Properties palette, a project browser, and a large drawing area at the top of the screen.
Important Tips before you start your drawing
The first step to ensuring that your workflow in Revit fits your needs is to make sure you follow certain steps.
1. Checking the default settings is the first step. You'll find most of these settings in Options under the menu button. You can customize the save reminder frequency, the graphics, enable or disable different software interfaces, and select the file location in this section.
2. Go to the Manage tab in the menu bar and look at the settings. Changing units is possible here, along with choosing different materials for your project.
Create your First Drawing in Revit
As you have become familiar with the interface of Revit, let's take a look at how to draw correctly. Using Revit, you can select the components from the list before starting a drawing, making it easier to draw them. Consider drawing a house.
1. The floor is the first component. You can draw a floor by clicking on the floor under the Build panel under the Architecture tab. Geometry opens up to include lines, arches, ellipses, circles, and polygons.
2. Under the mod tab, you can activate any of the shapes displayed. Once you have found the position you prefer, move your mouse to apply this shape. You will have to repeat these steps until you have completed the floor.
3. Building walls, fittings, roofs, and much more are all created the same way.
Conclusion
Revit projects and Revit families differ in several ways. You can create or download Revit families from the web. Families are used as ready templates to import into a Revit project, while Projects contain a whole structure or building consisting of several components.
? An architecture family has furniture, walls, windows, and doors.
? A structured family contains beams, roofs, and pillars.
? A lighting family contains bulbs, fans, and sockets.
To get online demonstration, watch the following video tutorial.
Video Source: Mufasu CAD
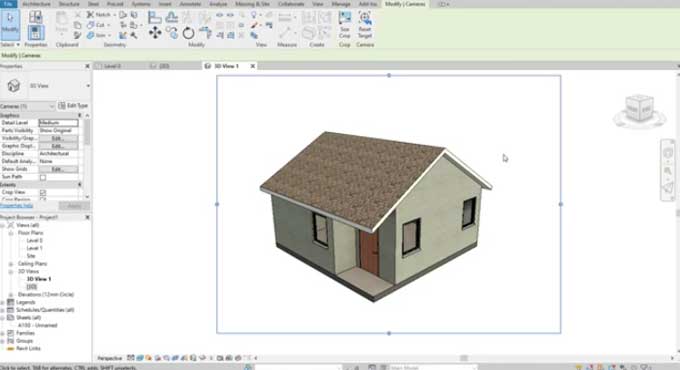
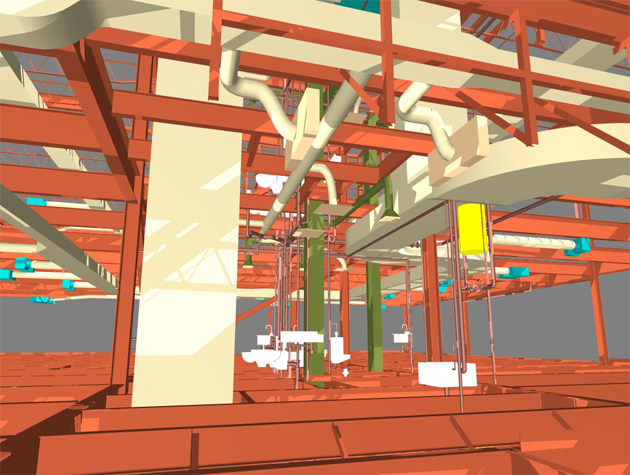
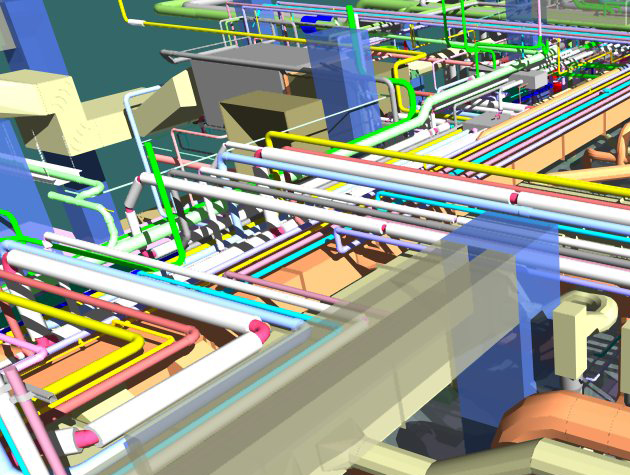
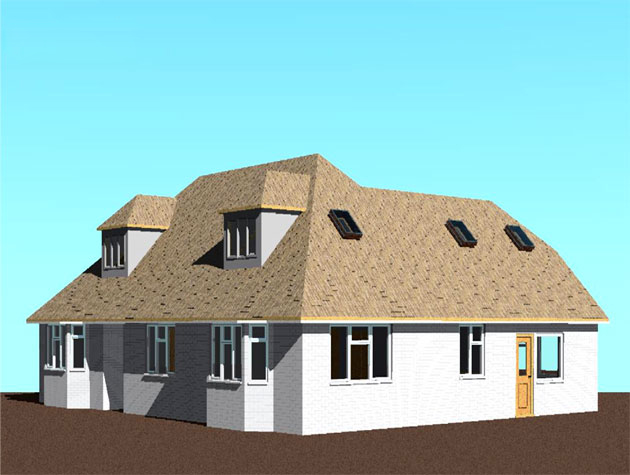
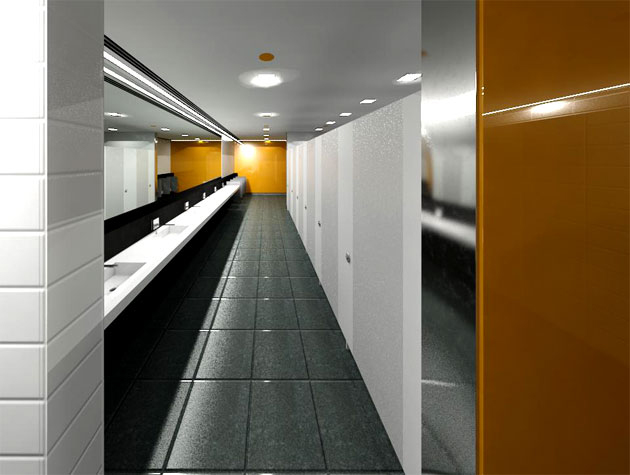
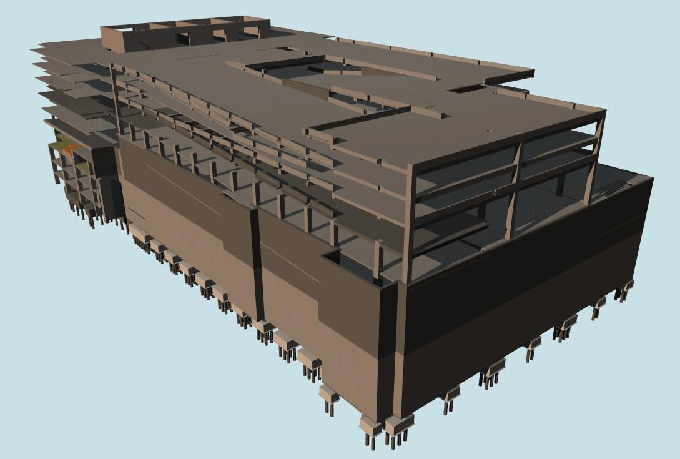
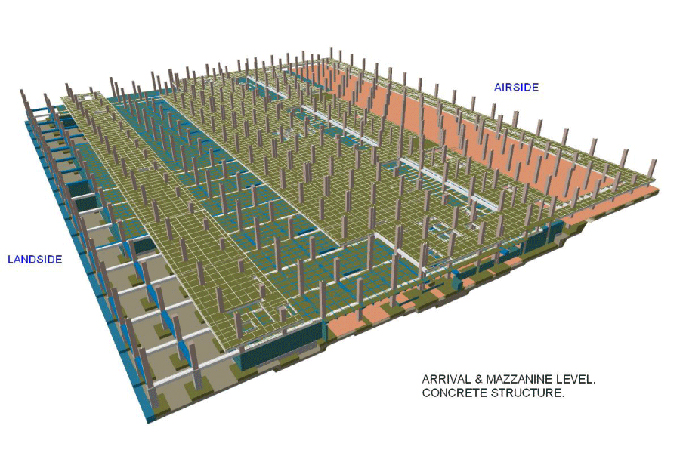
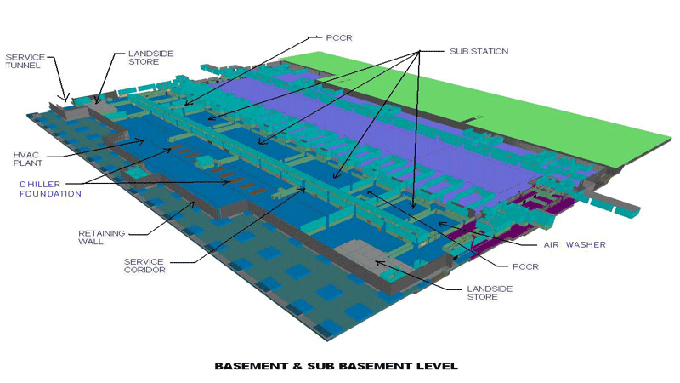
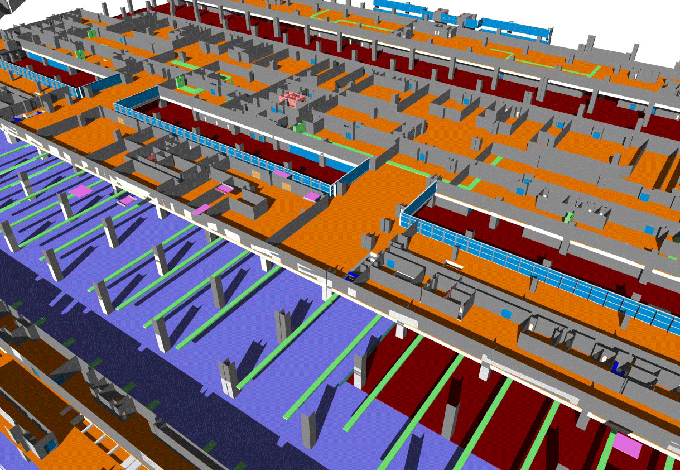
Gallery
Feel free to contact us for BIM requirements. One of our representative will respond you within 24 Hours. Send us your projects requirement today and grow your project.
Explore More !