A 6-Step Guide to Kickstarting a Point Cloud Project with Autodesk Recap and Revit
Tweet
Renovation costs in construction are on the rise, and preserving an as-built model presents several challenges. A growing number of contractors, surveyors, and construction professionals are utilizing point cloud modeling as a technique for high-quality and resource-efficient restoration of built structures.
A laser scan data assures the quality of a newly constructed work compared to a newly scanned work. As-built documentation of the new facility will be available to owners throughout its life cycle, thanks to the detailed use of laser scanned data during construction.
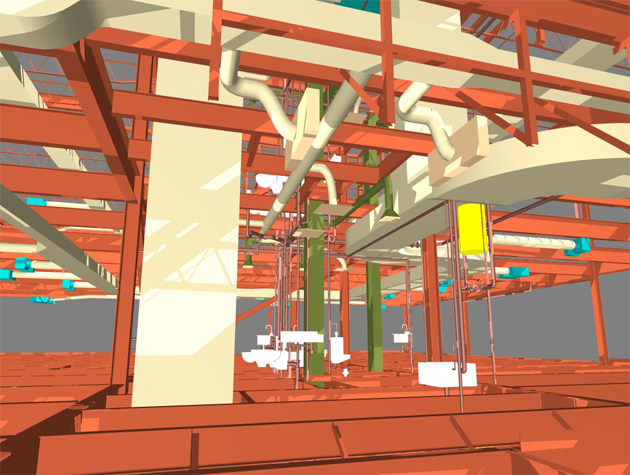
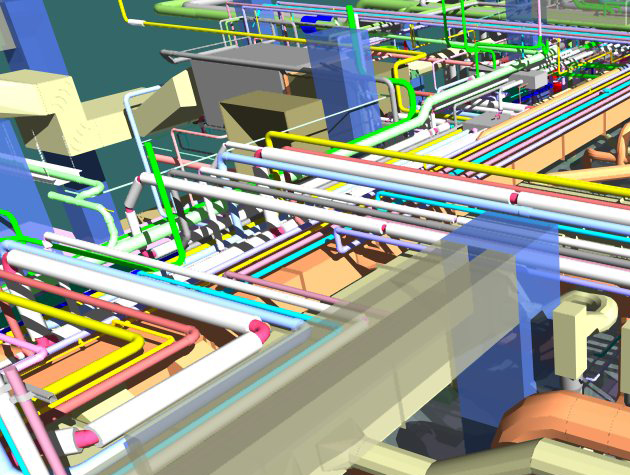
In renovations and brownfield redevelopments, point clouds capture rich and complete data. Converting point clouds into 3D BIM models enables accurate and precise construction planning based on accurate and detailed information about existing building conditions.
Autodesk Revit and Recap Project Importing as a Point Cloud File
There is a type of data set called a point cloud that represents objects or the space around them. A single point on a sampled surface represents the X, Y, and Z coordinates of the point, and these coordinates are collected into a dataset to represent many single spatial measurements on a sampled surface.
Using 3D laser scanners and LiDAR technology, point clouds can be generated using 3D laser scanners and LiDAR technology. Data points can be rendered into 3D meshes to create a 3D model.
Combining and coordinating these points, it establishes a framework for exporting the point cloud files and importing them into a CAD system or a BIM model.
What are the steps to start a Point Cloud by using Autodesk Recap and Autodesk Revit?
With Autodesk Revit and Autodesk Recap, you can kick start your point cloud project in a few easy steps.
1. Integrating Recap file coordinates into Revit
Adding the point cloud file to the Revit project is the first step. Multiple RCS scan files are contained in an RCP point cloud file format.
A. Start the Reit program.
B. Click on the Inset Tab, then go to the link panel, and then select Point Cloud.
C. Specify which files to link, navigate to their locations, and choose the type of file, such as point cloud projects, point clouds, raw formats, or all files.
D. Name the file accordingly.
Steps for postponing the process
A. Choosing Auto-Center to Center will center the point cloud bounding box on the model bounding box.
2. In Revit, the cloud origin of each point (0,0,0) is placed at the project origin (0,0,0).
3. Using shared coordinates - Revit assumes the point cloud file coordinates are set using the model's shared coordinate system.
2. Based on the scan levels, create levels
A scan level is created after the point cloud is inserted in Revit.
A. Click on the Elevation view. Level 1 and level 2 will be displayed by default (by Revit).
B. The point cloud can be divided into different sections by clicking the section tab.
C. You can set new levels along with dimensions on the Architecture tab by clicking levels on the ribbon.
D. Once you have selected the level, click on it and rename it.
3. Make the Floor Plans
A floor plan and a 3D view of the point cloud can be viewed simultaneously by clicking the tile tool in the view tab.
Revit can detect planes in the current view using shape recognition technology applied to point cloud data. By snapping the plane, you can create walls that are accurate.
A. Pick the pick walls tool on the Architectural floor when creating floor plans.
B. You can modify or change the level by selecting it.
C. You can select walls by clicking on them. Add the finish button to the 3D model by choosing it and putting it there.
4. Choose a service that we would like to model
It is possible to add doors, windows, and other building elements to Revit by detecting geometry from the point cloud.
For Example, If you view a fa?ade section, you can add windows. The Ghost Surfaces graphic display option will display the window opening in a shaded view.
You can determine the correct window size by measuring between two references. Use point cloud to place windows based on the window type.
To get online demonstration, watch the following video tutorial.
Video Source: Repro Products
5. The plan and elevation of the service should match
Door measurements can be taken from interior point cloud data or from the LGS file if you want to add doors. Take measurements of doors or windows that you want to add to the plan by opening the file and exploring around the cloud.
You can edit and upload or import the doors you want in Revit by clicking on doors inside the software. After that, drop the doors on the plan according to the measurements.
6. Wherever necessary, create families
In Revit, you can create doors, windows, ceilings, walls, and other types of families by selecting the appropriate category or choosing the best possible view.
Alternatively, families can be imported from other sources, including NBS, Revitcity, or BIM objects included in the installation of Revit. Reload the project after changing the category of the family. When handling information, these procedures assist you in finding the families where they should be.

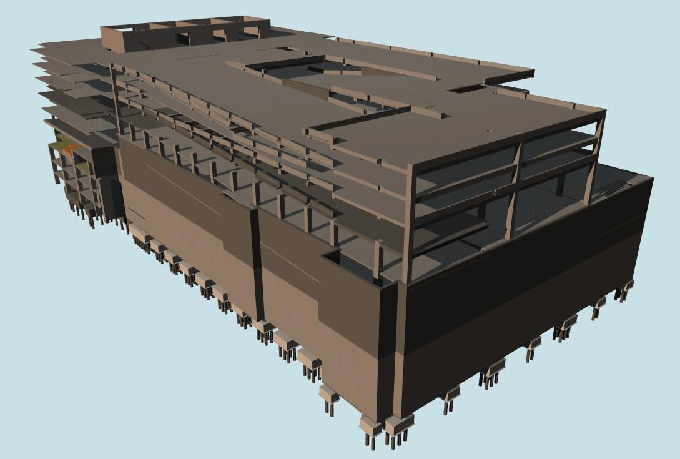
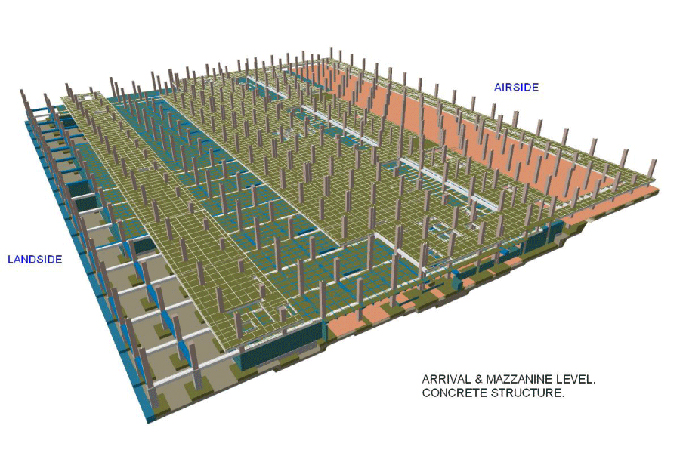
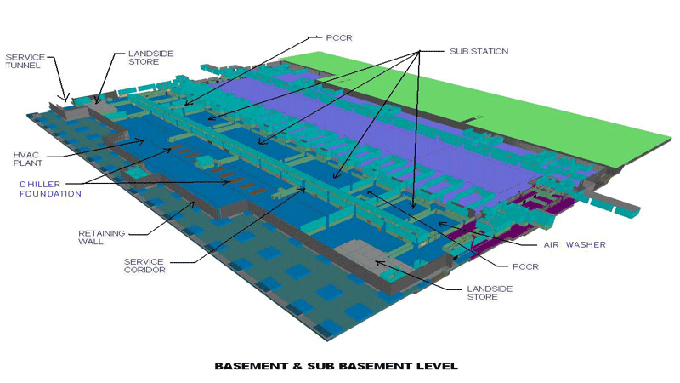
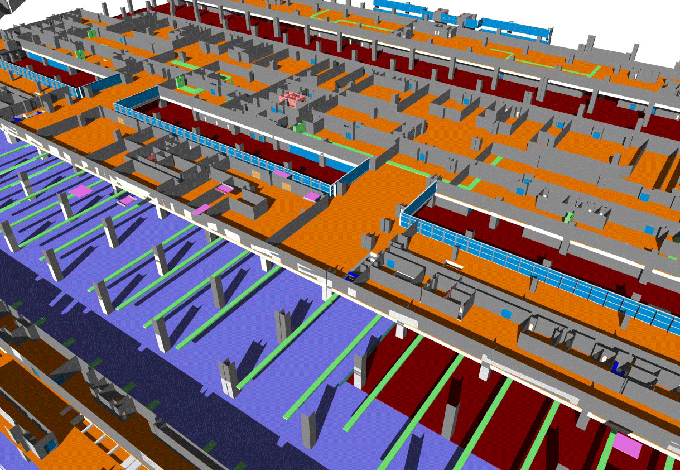
Gallery
Feel free to contact us for BIM requirements. One of our representative will respond you within 24 Hours. Send us your projects requirement today and grow your project.
Explore More !