How to Draw an Umbrella in AutoCAD
Tweet
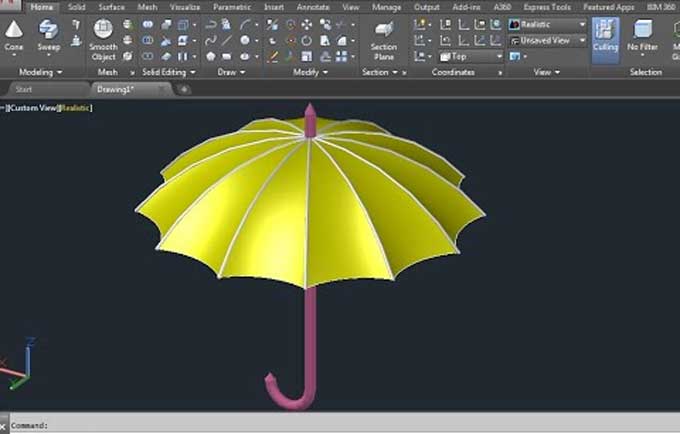
Rather than dive into three-dimensional objects such as umbrellas, let's start by sketching in two dimensions. The most common use for AutoCAD is to create floor plans and layouts.
Drawing Lines
- You'll need to disable Grid Snap with F9 to create the first sketch. You can select the top view by clicking the View Cube.
- You can either select the line command from the Ribbon or type the line manually. AutoCAD auto completes Commands based on the first letters typed, and it displays any available Commands.
- The first point is specified after you enter the command line. If you want to enter the coordinates manually, you need to enter them manually or click a random point in your drawing space.
- You should enter 0 as the X-coordinate, & then press Tab to move to the Y-coordinate input field. Confirm by pressing Enter.
- As a result, you have selected the Center-Point, or the (0, 0) coordinates, as the starting point for your line.
- Your mouse should now be moving up the Y-axis. There has been a change from Cartesian coordinates to polar coordinates in the input.
- The length of the line should be 25 and the angle input should be 0. Enter 0 by pressing the Tab key. The line has been drawn. Click Enter to continue.
Object Selection
By left-clicking on them, you can select drawn objects. Hold down Shift and click again to unselect. Using the left-click and left-to-right mouse movement, select multiple objects. A selection will be made of all objects fully enclosed in the blue rectangle. From now on, any object touched by the green rectangle will select when you drag from right to left. Verify your selection once more by clicking once again.
A lasso is enabled by clicking the left mouse button and holding it. Practice that by choosing your square differently a few times. You can either press Delete once more or type delete to erase this selection.
Drawing Shapes like Rectangle & Circle
Drawing simple shapes is easier in AutoCAD. Make a new form by drawing a few shapes.
Rectangle
You can either click or type the Rectangle icon on the ribbon. Just like for the line, enter (0, 0) as the origin for the rectangle. That will then require that you supply the opposite corner coordinates to the rectangle command. You press Enter after entering (10, 60). Cartesian coordinates maintain for this command.
Circle
Create a circle with a point (0, 50) at its center. By pressing Enter, confirm that the coordinates are correct. Once the radius is set to 8 mm, click OK. If you made a mistake, you easily edit the sketch by double-clicking. Within the pop-up box, you can edit the values. A circle should be drawn around (0, 30). The major radius, which is parallel to the X-axis, should equal 70 mm, and the minor radius should equal 30 mm.
Spline Drawing
Our next step will be to create a spline. If you use the Spline tool, you can connect points in a continuous curve. Begin by creating a spline at (0, 0). A distance adds first, followed by an angle. You have reached the next point, & then press Enter. You can enter the following polar coordinates & then type 'T' and press Enter. Once again, press Enter.
Trimming
An intersection can be trim by using the Trim command. To erase a line segment, type Trim and click on it. You can undo the removal of a line if you can delete it by mistake.
If you see lines stuck between small edges, be sure to take a close look. You would have problems with those if you 3D modeled it. Once you finish trimming, click Enter to confirm.
Mirror
You will be using a useful sketch tool for this last step: the Mirror. Sketching symmetrical shapes is made easier by drawing both halves of a sketch and then reversing them.
Select all of the sketches and hit Enter after typing Mirror. The first point on the mirror line should be Center-Point (0, 0), and the second point should be along the Y-axis. The source object can remove by clicking No on the question. You have now created your first 2D drawing in AutoCAD.
Conclusion
Here's the conclusion to our AutoCAD beginner tutorial. Its toolbox and features make it the best CAD software for 2D drawings. CAD and 3D modeling software programs like AutoCAD are created and maintained by Autodesk, the software giant that also offers software like inventory, Revit, Maya, 3Dsmax, and Fusion 360.
To get online demonstration, watch the following video tutorial.
Video Source: Nayem Hossain
It's impressive in terms of 3D design, especially for rendering. If you have just experienced how difficult and unintuitive it is to use, as you discovered in the previous example, try using another 3D modeling software like SketchUp if you feel that AutoCAD is not the right choice for you.
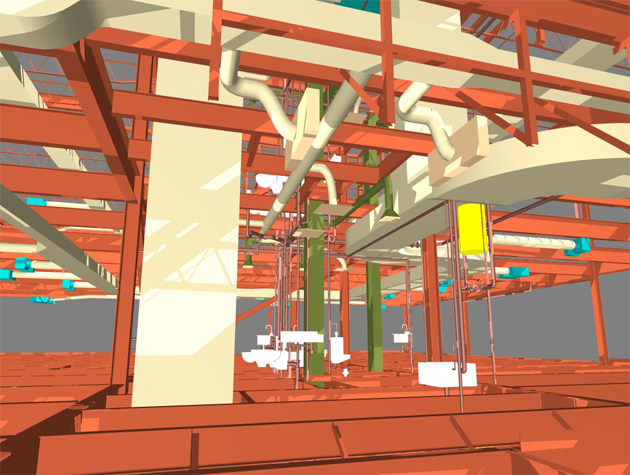
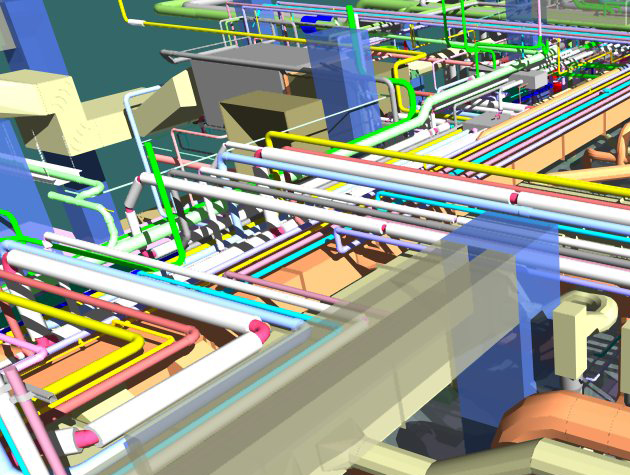
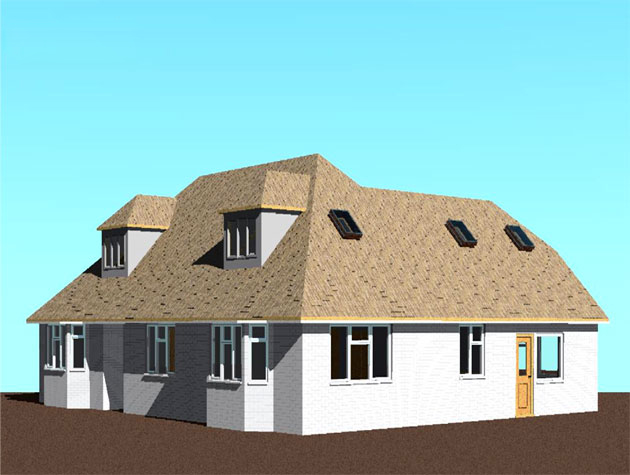
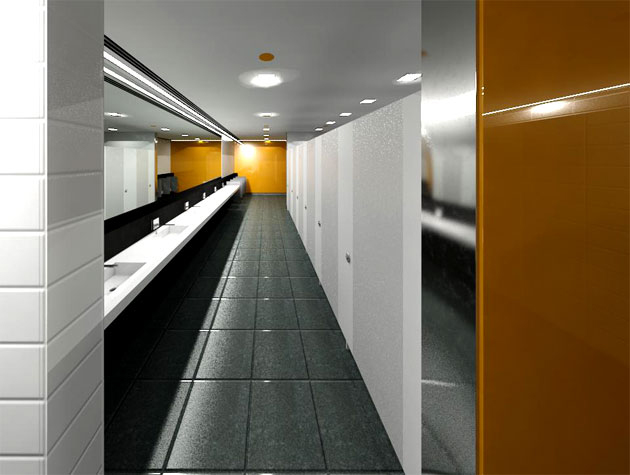
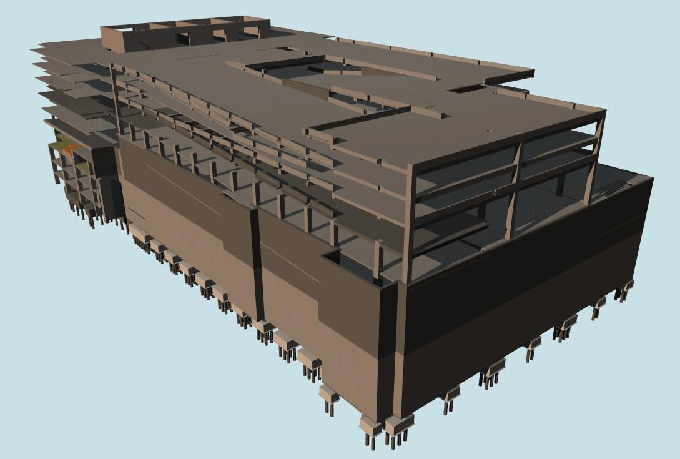
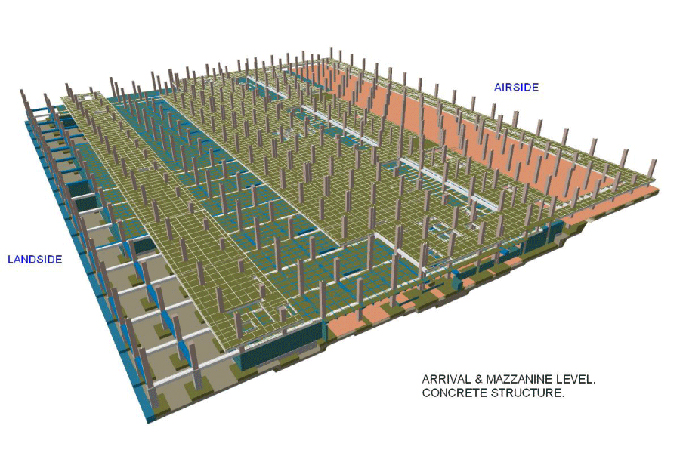
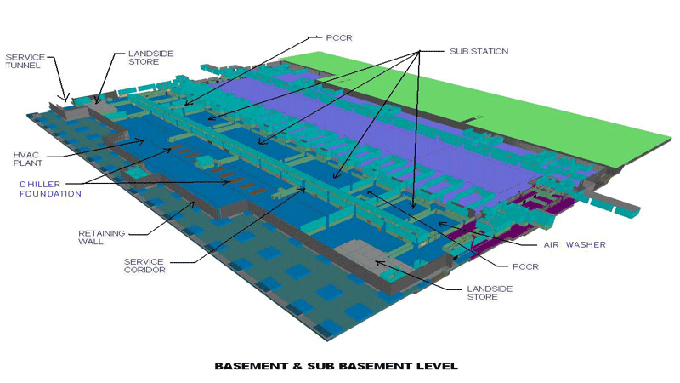
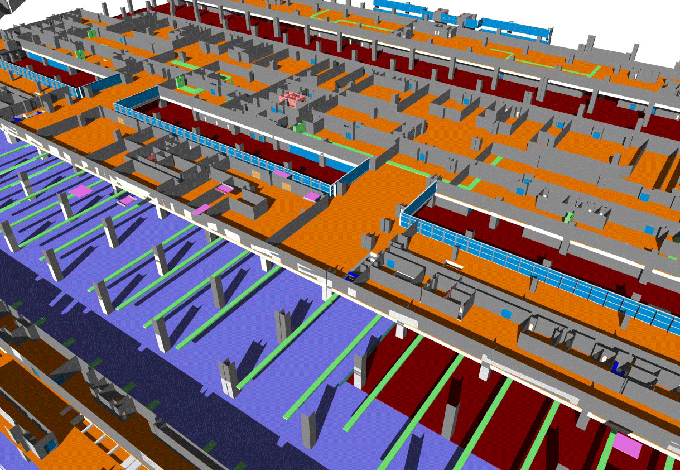
Gallery
Feel free to contact us for BIM requirements. One of our representative will respond you within 24 Hours. Send us your projects requirement today and grow your project.
Explore More !