Grids in 3D views for Revit 2022
3D Views can be enhanced by adding a background, adjusting camera positions, or changing view parameters. Using the View tab, select the Create panel, and finally select the 3D View drop-down menu.
Following the default 3D view, you can select three options:
? Camera.
? Walkthrough.
? Default 3D view.
Grids in 3D Views
Model grids can be displayed and modified in a 3D view. Annotation Categories is the tab of the Visibility or Graphic Overrides dialog box where grid visibility can be changed.
Several of the same techniques can be applied to 3D views as to 2D views, such as the following:
A. Use the Visibility or Graphic Overrides dialog to hide grids based on an element, category, or filter.
B. You can change the graphics of individual grids or based on the setting for view filtering.
C. Halftone grids can be displayed through the Display Overrides or Visibility dialog boxes.
D. You can specify the extent of the grids plane in the scope box.
E. Grid elevations can be changed.
F. The grid can be copied or cut and pasted into another model, or added to another model.
G. The model can be deleted by deleting the grids.
H. Place other elements according to grids.
I. Input and output properties of a grid instance.
J. Annotation Categories tab menu; use Visibility or Graphic Overrides settings to include grid visibility as part of a view template.
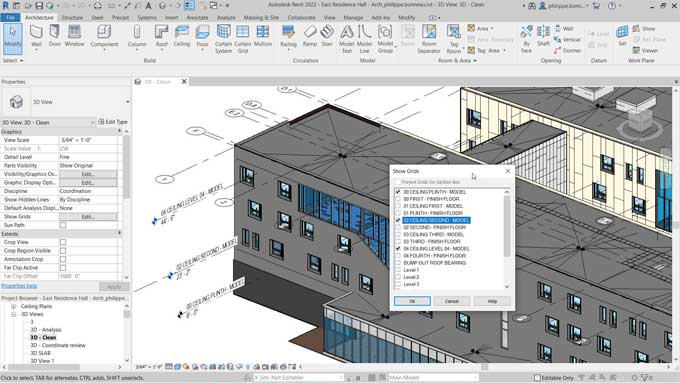
Show Grids in 3D Views
Newly created 3D views check by default at the lowest level. The upgrade does not select a level for existing 3D views.
In a 3D view, grids show as follows:
A. Open the 3D view.
B. You can edit the Show Grids property under the Graphics tab in the 3D View Properties palette.
C. You can display the grid lines at levels where you select the Show Grids button in the Show Grids dialog box. An intersection of a grid surface and a level plane marked by lines on the grid. As long as grid surfaces intersect selected levels, grid lines will display, and they will update automatically whenever grid or level positions change. The display grid line will appear for each intersection checked at the grid level.
D. The Show Grids dialog will close when you click OK to save your changes.
Canvas Control uses Grids in 3D Views
The grids in 3D views cannot add. However, you can copy levels and paste them elsewhere in 3D views. In the Properties palette, you see the properties of the selected grid and its vertical plane displayed as a blue surface. The blue vertical surface of a grid only appears when you hover over it.
In-canvas controls let you perform the following actions for a selected grid:
A. Grid elevation can change.
B. As long as a scope box does not control the extent of the grid plane, you can change its extent. If you drag the circles in the center of the grid edges, it will adjust the surface of the grid.
The only way to adjust the surfaces in the vertical direction of multi-segment grids is simultaneous. There are only two surfaces you can adjust in the horizontal, the start and the end. You can select each surface by using the TAB key when you hover over any segment on the grid. You will not be able to adjust the surface of an individual segment when using the TAB key.
Grid Annotation
Annotations can be controlled on a grid-by-grid basis. An annotation placed in the horizontal plane is always referred to as a grid annotation. Each end of each grid line of a grid annotation is considered, for purposes of visibility settings. Plan Views and grid annotations have the same defaults on creation. Each grid end has a checkbox that controls the visibility of the symbols. For 2D & 3D views, Elbows and End Segments are not shown.
To get online demonstration, watch the following video tutorial.
Video Source: Autodesk Building Solutions
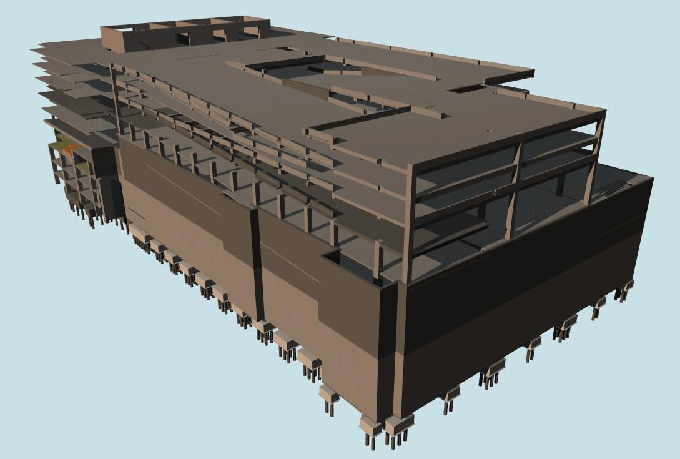
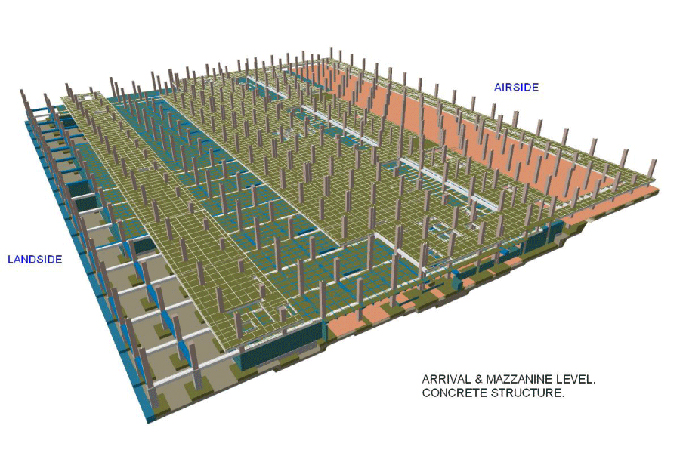
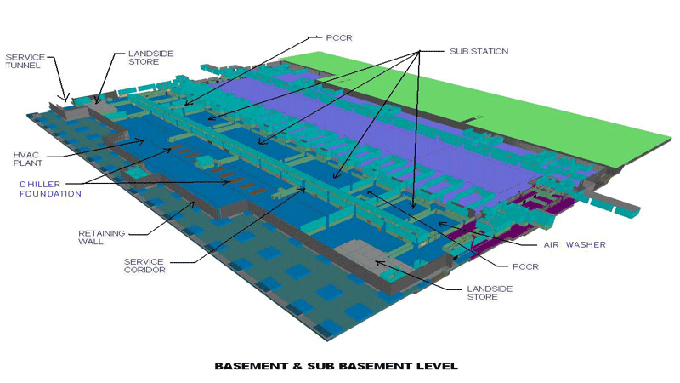
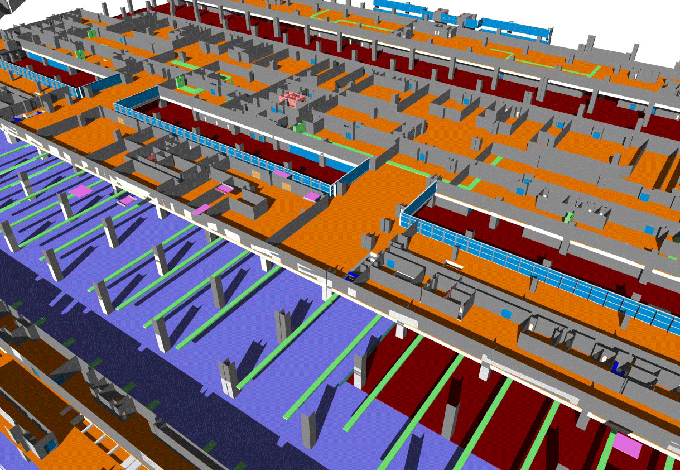
Gallery
Feel free to contact us for BIM requirements. One of our representative will respond you within 24 Hours. Send us your projects requirement today and grow your project.
Explore More !