V-Ray 5 for Revit - The Ultimate Guide and Tutorial
Concept about the V-Ray 5 for Revit Software
The V-Ray 5 plugin helps to empower the design professionals to create, explore and present the designs along with real-time, high-quality visual feedback. The Chaos Cosmos asset library of the V-Ray 5 plugin helps to provide photorealistic entourage to build stunning interiors and exteriors, along with minimal effort.
The new material tools of the V-Ray 5 plugin enable the design professionals to achieve more realistic looks. All the design features of the V-Ray 5 plugin have been delivered right inside the Revit software, which makes this tool a perfect tool for users working on any stage of the project development process.
Discuss the key features of the V-Ray 5 for the Revit Software
Real-time visualisation feature
The V-Ray 5 plugin enables users to achieve a more realistic real-time view of their design model. As a result, the users are able to iterate and make better design decisions, thus the users can communicate more effectively with all project stakeholders.
Offering render-ready 3D assets
The V-Ray 5 plugin comes with a curated asset library, which enables design professionals to create a real-world context for their model’s interior and exterior by adding high-quality entourage from the essential design categories. In addition, this asset library also provides a consistent 3D content experience across Chaos products and renderers.
Offering innovative sketch ideas
The new global Contours setting of the V-Ray 5 plugin helps to provide a sketch-like look to concepts, which can be applied to the whole design model.
Post-processing feature
The redesigned Frame Buffer of the V-Ray 5 plugin has come with numerous powerful design features, so there is no need for a separate app for composition or colour correction activities.
Realistic displacement feature
In the V-Ray 5 plugin, the displacement is not limited to the V-Ray materials. As a result, the V-Ray 5 plugin acts as an asset of its own that is easy to apply to native materials.
Offering new lighting capabilities
The new light mix feature of the V-Ray 5 plugin has been used to experiment with all the light sources in a scene after completing the rendering process. In the V-Ray 5 plugin, the light can be grouped, the brightness can be adjusted, and the colour can be changed according to the design requirements.
Randomisation feature for realistic textures
The UVW Placement asset of the V-Ray 5 plugin helps to randomise the texture coordinates and colours of V-Ray materials, which helps to make them appear as they will be in the real-world.
Provide an improved material library
The render-ready material library of the V-Ray 5 plugin helps to save design time for users by allowing them to access more than 500 high-resolution 4K textures, for example, metal, glass, wood and other design materials.
Dirt and weathering effect
The weathering effect of the V-Ray 5 plugin can be added to any surface of a design model along with the improved V-Ray Dirt texture.
Having creative freedom with Sky and Sun
With the help of the V-Ray 5 plugin, the user has more control over the Sky generation parameters and can also access an improved Sky model, sunrises and sunsets, thus achieving more realistic design outputs.
Coat and Sheen Layers
The V-Ray 5 plugin has been upgraded with two new layers, which are coat and sheen layers. The coat layer helps to create polished surfaces, whereas the sheen layer helps to produce realistic fabrics such as velvet, satin or silk within less time.
Learn about the process of downloading the V-Ray for Revit software
To download the V-Ray 5 plugin for Revit software, the user has to follow several steps, which are as follows:
To get online demonstration, watch the following video tutorial.
Video Source: V-Ray ArchViz
Download V-Ray 5 for Revit
1. At first, the user has to visit the official Chaos website and go to the "V-Ray for Revit" section on the Chaos Group website to download the 30-day free trial or purchase a license.
2. In the next step, the user has to create a Chaos account to initiate the downloading process and manage the license for the V-Ray plugin.
3. After that, the user has to download the V-Ray for Revit installer from the link that has been provided in the user’s account or email.
4. In the next step, the user has to locate the downloaded .exe file, right-click on it and has to select the "Run as Administrator" option to complete the downloading process.
5. After that, the user has to read and accept the licensing agreement and choose the appropriate version of the Revit software.
6. In the case of using V-Ray on a local machine, the user has to select the "Local License" option. After that, the user has to follow the on-screen instructions and click "Finish/Done" to complete the installation process. Thus, the V-Ray tab will be visible at the top of the menu of the Revit software.
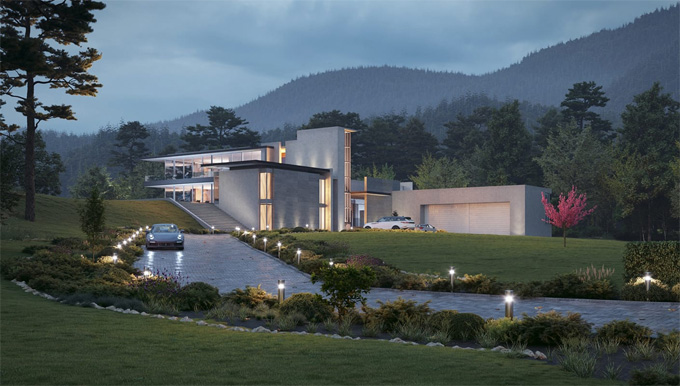
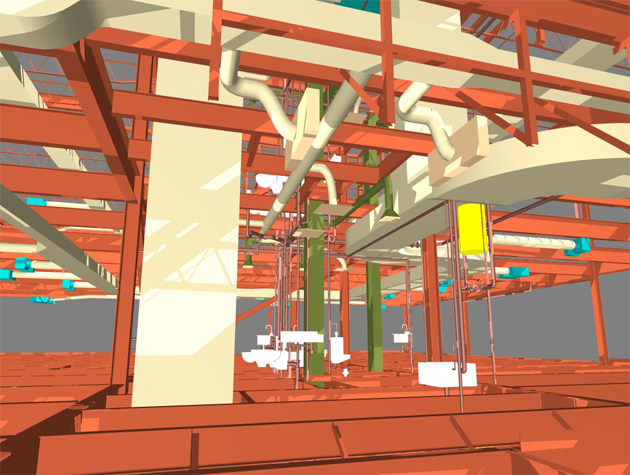
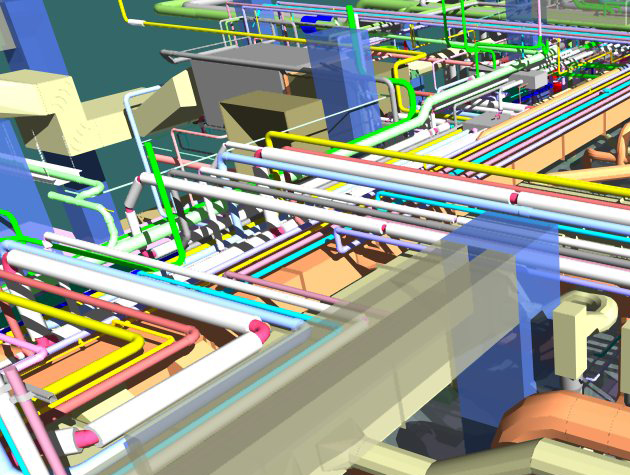
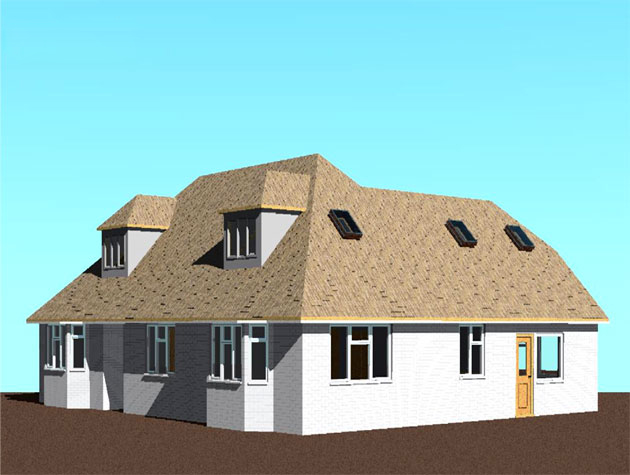
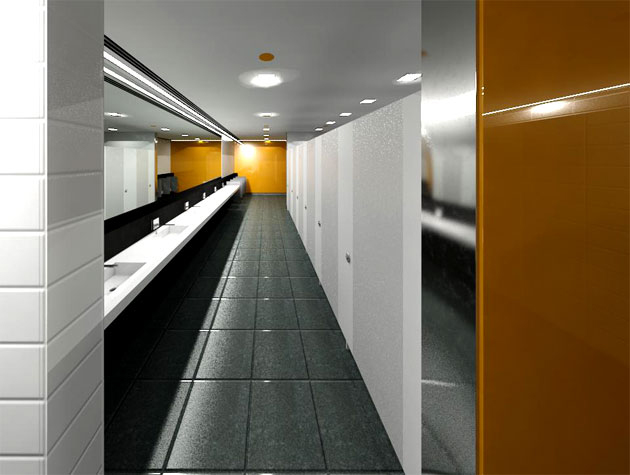
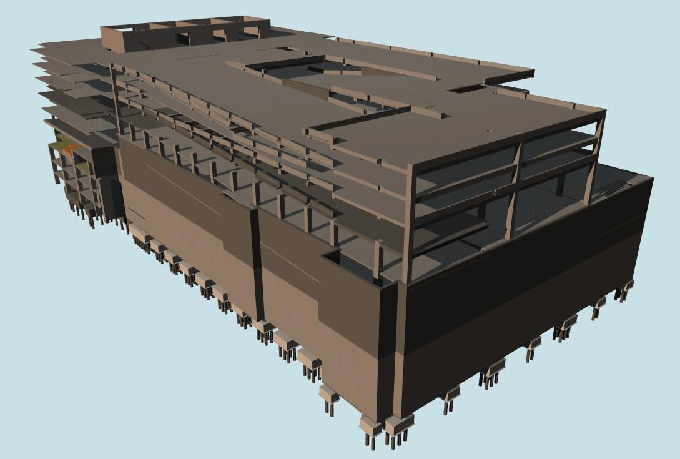
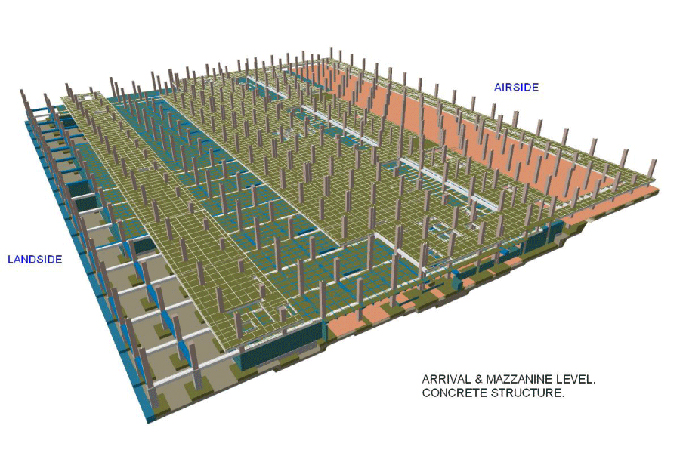
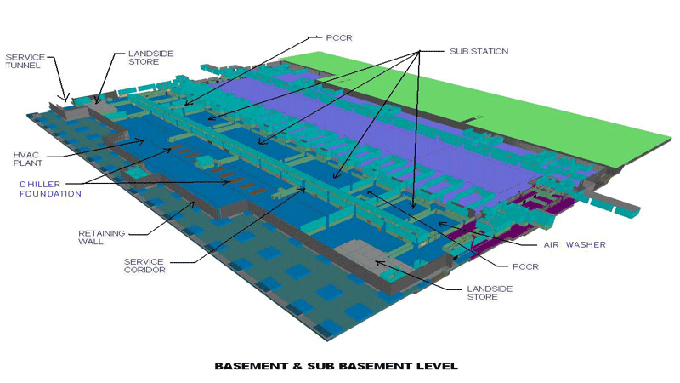
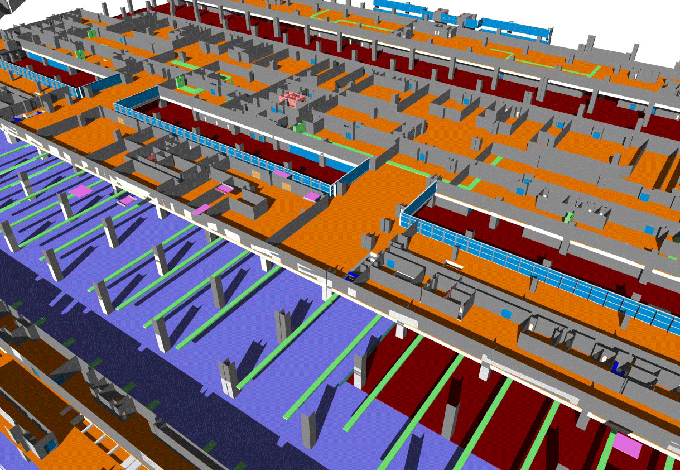
Gallery
Feel free to contact us for BIM requirements. One of our representative will respond you within 24 Hours. Send us your projects requirement today and grow your project.
Explore More !