How to Create 3D Views 3D Views in Revit
Role of Revit software in creating 3D views
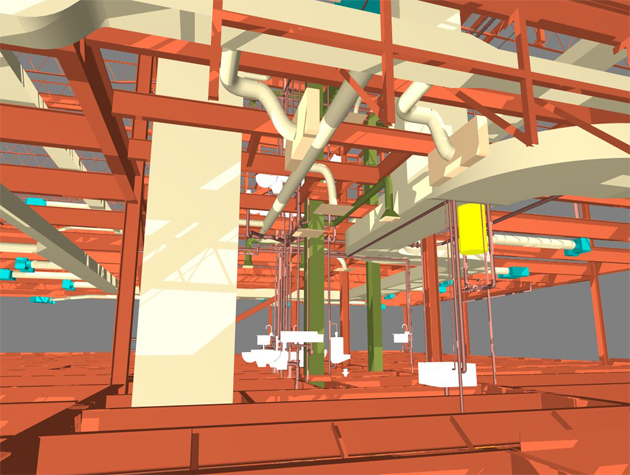
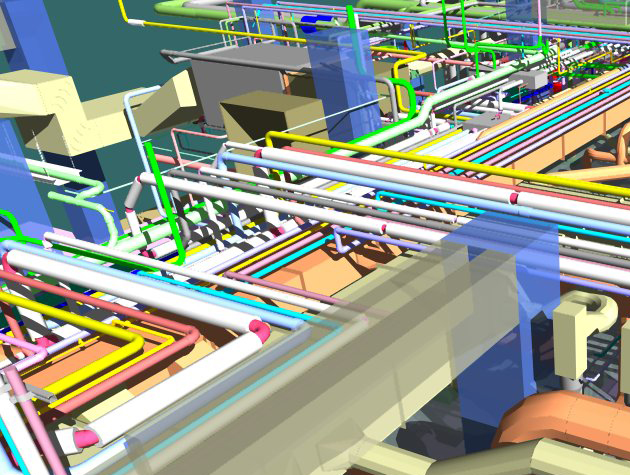
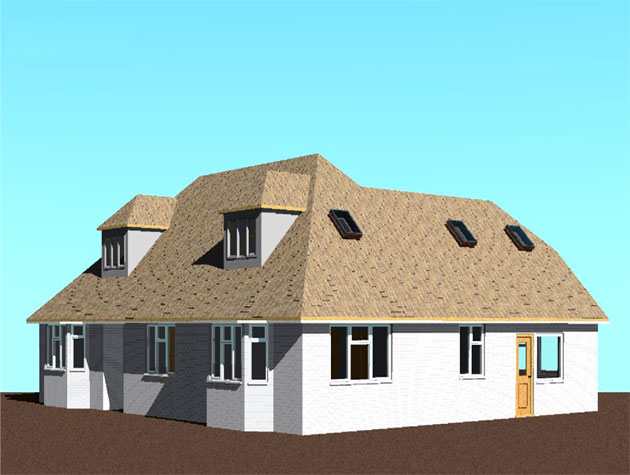
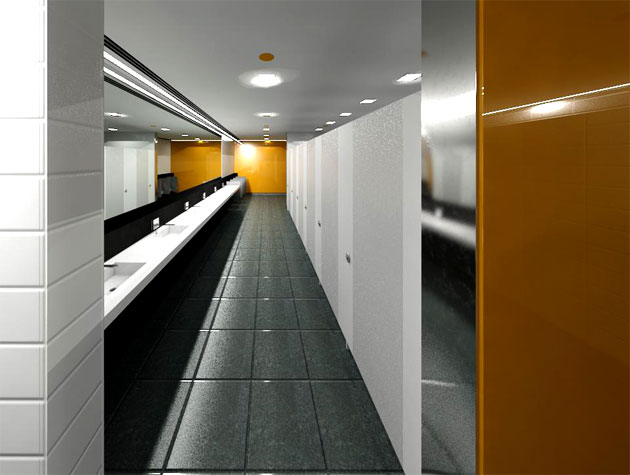
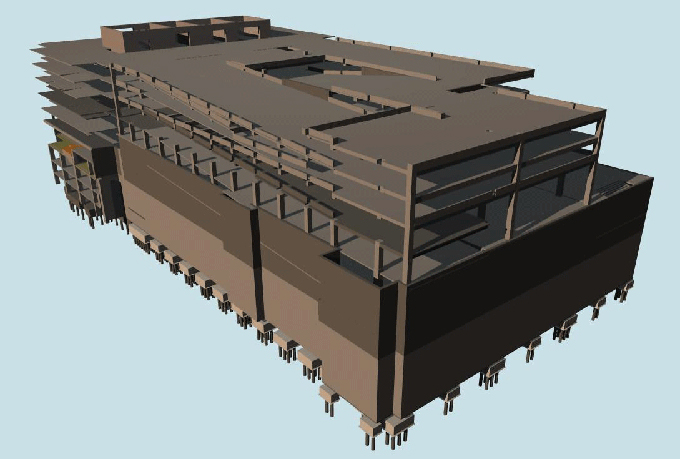
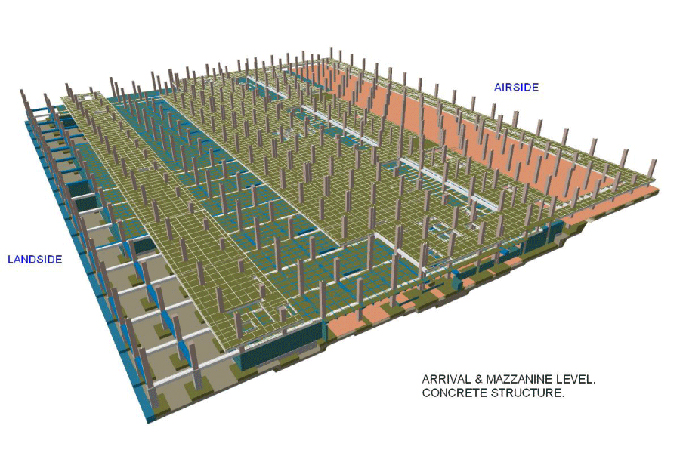
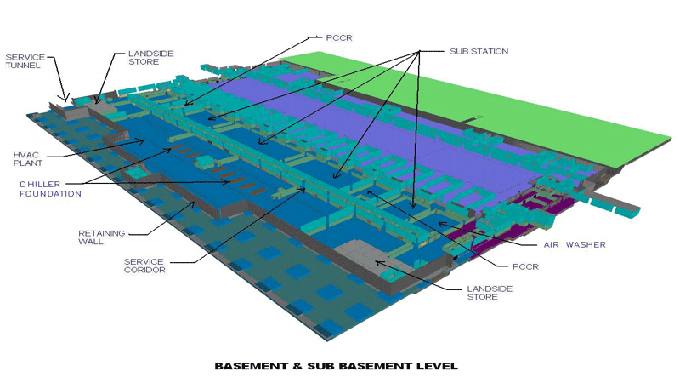
With the help of the Revit software, design professionals are able to grasp and adjust the 3D design models in this design software. The Revit software enables users to add 3D design views to the design and can also modify the 3D perspectives of the design, which helps to enhance the design presentations of the users.
Improving design procedure with 3D perspectives
While creating the 3D perspective design within the Revit software, at first, the user has to ensure that the file is open. In the View tab within the main menu, the user can discover different design options that have been tailored for 3D design perspectives. The user can click on the '3D View' option within the 'Create' panel, which helps to produce a pre-configured 3D perspective of their design model. If the default option does not align with the user’s vision, then the user can easily modify their view to highlight specific design elements of their design model.
Improving the design professional’s design perspectives
After activating the 3D view within the Revit software, the 'Section Boxes' and 'Visibility/Graphics Overrides' tools can enable users to fine-tune what is visible in the design. In the case of certain design components clutter the user’s design perspective, then they can use the 'Visibility/Graphics' settings, which helps to deselect the design elements that detract from their main focus. In addition, the user can also manipulate the 'Camera' tool to get optimal angles. The user can also enhance their design representation by carefully positioning the camera, which helps to make it perfect visuals while showcasing to the clients.
Enabling the utilisation of the viewing tools
With the help of the Revit software, design professionals can take advantage of the navigation tools that are coveniently accessible on the view cube of the Revit design interface. The design interface of the Revit software offers several design functions, including panning, orbiting and zooming, which are involved in providing a complete grasp of the 3D design space. In the Revit software, the user has to click and drag on the view cube while orbiting around the design model, resulting in dynamic shifts of the user’s design perspectives.
The user can also refine the design workflow by using keyboard shortcuts. For example, if the user wants to facilitate quick panning, the user has to press the ‘Shift + middle mouse button’. On the other hand, the user can also access the zooming capabilities by pressing 'Ctrl + middle mouse button'; thus, it helps to make navigation more seamless.
Learn tips to create beautiful 3D views within the Revit software
There are different ways by which the user can create beautiful 3D views within the Revit software, which are as follows:
Activating the Anti-Aliasing
The user can go to Graphic Display Options in the view and can check the “Smooth Lines With Anti-Aliasing” to activate the anti-aliasing feature in the design model.
Activating Silhouettes
To activate Silhouettes in the design, the user has to go to the graphic display option in the view settings within the Revit software. Within the Silhouettes menu, the user has to select a line with sufficient thickness, which helps to get a much more alive 3D view.
Activating Ambient Shadows
The Ambient Shadows feature of the Revit software has been used to mimic the natural lighting conditions from a cloudy sky and reflections from surrounding objects within the design model.
Activating Cast Shadows
To use the cast shadows feature, the user has to go to the Graphic Display Options in the view settings and then go to the shadow option and check “Cast Shadows”. In addition, the user can also adjust the value for shadows.
Using Consistent Colours Visual Style
This feature helps produce good-quality casual visualisation with consistent colours to get a conceptual style view. This style can be generated and loaded more quickly.
Updating Gradient Background
Users can use the Gradient Background feature to get pretty interesting and artistic results. In this context, the user has to go to the Graphic Display Options, then go to the background submenu, and select colours for sky and horizon.
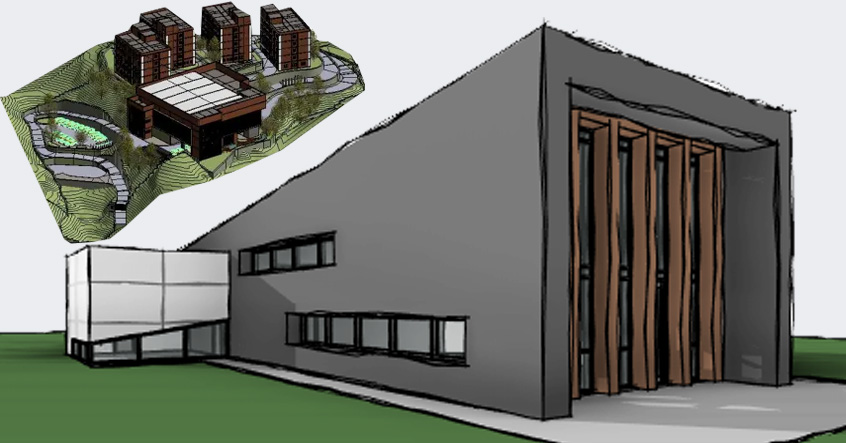
Using Sketchy Lines
This feature helps to create a 3D view resembling a conceptual sketch. In this context, the user has to go to the Graphic Display Options and click on the Sketchy Lines sub-menu.
Using Image Background
If the user wants to get a more realistic type of view, they can try using a .jpeg image for the background. In this context, the user has to go to the background tab and select the image to get the results. In addition, the user can also use the Offset tool to adjust the height of the design objects.
Gallery
Feel free to contact us for BIM requirements. One of our representative will respond you within 24 Hours. Send us your projects requirement today and grow your project.
Explore More !