How to Draw Floor Plans in AutoCAD - Step-by-Step Guide
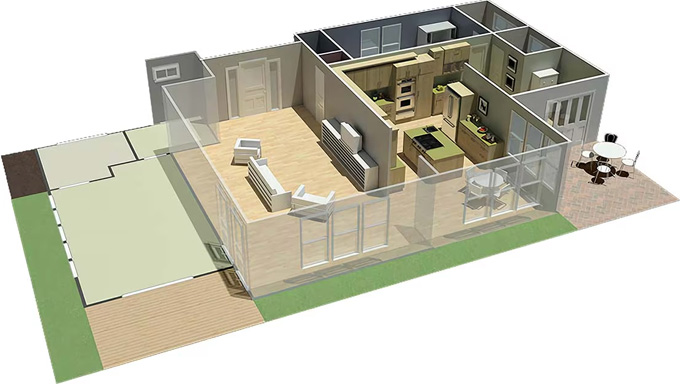
The AutoCAD software is an excellent tool which has been used for creating the floor plans. This AutoCAD software has been widely used by engineers, architects and builders for different architectural design projects. With the help of the AutoCAD software, the floor plan design can be represented in both 2D and 3D models, which helps to show the spatial relationship between the different elements of the floor plan.
Learn about the commands used for creating the floor plans
Line command
This command in the AutoCAD software helps to draw straight lines for the floor design.
Offset command
This command helps to create parallel lines at a specific distance within the floor plan design.
Copy command
This command helps to duplicate the selected design objects for the floor plan.
Move command
This command helps to relocate the design objects within the floor plan design.
Trim command
Trim command in the AutoCAD software helps to cut the unnecessary parts of the design objects within the floor plan design.
Rotate command
In the AutoCAD software, the rotate command has been used to change the design orientations of the objects within the floor plan.
Mirror command
The mirror command in the AutoCAD software helps to create a mirror image of the design objects within the floor plan design.
Group command
With the group command in the AutoCAD software, design professionals are able to connect the selected design objects as a whole.
Explode command
The explode command helps to divide the design objects into the component parts of the floor plan.
Hatch command
This command has been used to apply the design patterns like glass, wood, concrete and others to the closed boundaries.
Arc command
The arc command in the AutoCAD software helps to create curved lines that are used for the door symbols.
Extend command
This command in the AutoCAD software has been used to lengthen the lines, which helps to meet other lines or boundaries within the floor plan design.
Discuss the process of creating floor plans by using the AutoCAD software
Preparing the floor plan
While creating the floor plan using the AutoCAD software, the user has to set the AutoCAD workspace first. This process involves the initial steps of the floor plan design, for example, installing the AutoCAD software, knowing the design requirements of the specific floor plan design, and setting the drawing file along with the appropriate design parameters. In this context, the user can create the appropriate design units for the floor plan design, defining the size of the paper and can also select the suitable scale for the design. The user can also familiarise themselves with the basic commands and the design interface of the AutoCAD software.
Creating the external walls
After preparing the outline of the floor plan design, the user can start drawing a 2D floor plan in AutoCAD software. In this case, the user can use the Line command to create the outer walls of the floor plan design. The user has to focus on the thickness of the external walls and overall dimensions of the walls, which helps to ensure that they are to scale. This design step is important to establish the shape and size of the building more accurately.
Drawing the internal walls
After creating the external wall, the user can also create the interior walls by using the line command or the polyline command. This command helps to draw the location of the interior walls within the floor plan design. The user can use the offset tool in the AutoCAD software to select the offset distance between the interior walls. In this context, the user has to ensure that the wall joints of the interior walls are accurate.
Adding windows, doors and furniture designs
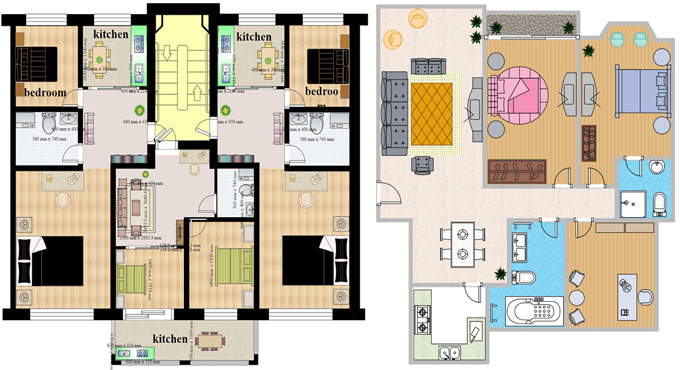
To add the windows, doors and furniture designs within the floor plan design, the user can use the extensive block library of the AutoCAD software. The block library of the AutoCAD software helps to provide a visual representation of the furniture, windows or door designs, thus helping to understand the design layout and functional layout of the design space.
Adding annotation and dimensions
The user can conclude the floor plan design by adding the important annotations and dimensions for reference and clarity. With the help of the “TEXT” or “MTEXT” commands of the AutoCAD software, users are able to add labels and descriptions within the floor plan design, which helps to provide information regarding the names and features of the rooms. In addition, the user can also customise the font, style, and size of the text, which makes it legible and consistent with the drawing standards of the users.
Gallery
Feel free to contact us for BIM requirements. One of our representative will respond you within 24 Hours. Send us your projects requirement today and grow your project.
Explore More !