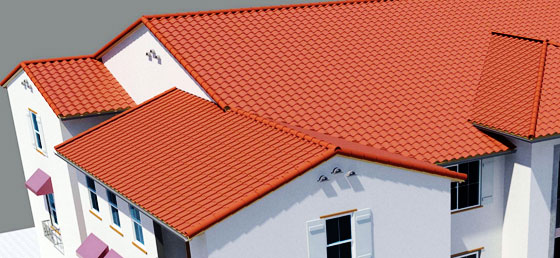
The default method of creating a sloped roof within Revit Architecture is to make one or more of the roof boundary lines "Slope Defining". This is fine if we know what angle we want the roof slope to be at. But what if we want to create a roof based on absolute heights? For example: We know the height at the eaves and we know the height that the ridge needs to be.
First, You can create a mass and create roof by selecting the mass faces. Mass are quite easy to make, but using this method might be require a lot of works. If your design is quite simple, you will not want to spend to much time on your roof. I will not discuss much about this for now.
The trick above might work. However, you might need to control the slope direction by yourself. You can do it by using slope arrow. Before you use slope arrow, you need to turn off define slope for the edge. Select the edge you want to control the slope direction, and turn off the define slope from option bar. If you do not turn it off, you will get an error message: The tails of slope arrows must not lie in interior of slope defining lines.
You also need to adjust the roof height to match the other roof. You can move the roof from elevation view or change the offset value. The downside about this method is you can't join the roof to another roof. So you will have two separate roof.
.
