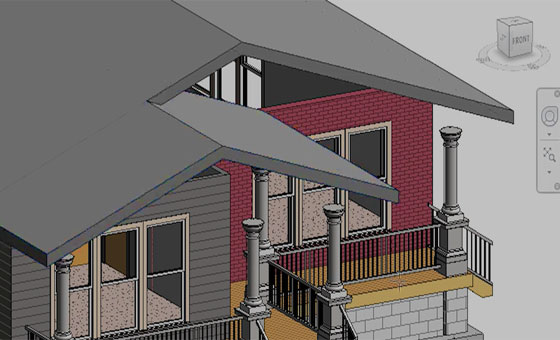
When a user makes a building, model, or any other kind of object in Revit, they may use Revit's rendering engine to make a more realistic image of what is otherwise a very diagrammatic model.
This is accomplished by either using the premade model, wall, floor, etc., tools, or making her or his own models, walls, materials, etc... Revit 2010 comes with a plethora of premade materials, each of which can be modified to the user's desires. The user can also begin with a "Generic" material.
With this, the user can set the rotation, size, brightness, and intensity of textures, gloss maps (also known as shinemaps), transparency maps, reflection maps, oblique reflection maps, hole maps, and bump maps, as well as leaving the map part out and just using the sliders for any one (or all or none) of the aforementioned features of textures.
Cloud-based rendering with the experimental plug-in dubbed Project Neon, located on Autodesk Labs is in the beta phases and allows for the user to render their images through their Autodesk account instead of locally through their own computers. Revit models may also be linked directly into Autodesk 3ds Max (release 2013 and later) for more advanced rendering and animation projects with much of their material and object information maintained.
This is how rendering happens. Take a tour.

Reference:- Egitim Saati and Autodesk