How to Use Slanted Walls in Revit 2021
Tweet
It has been some time now since Revit has released its latest edition – Revit 2021. Among other features and improvements, it has one significantly useful new tool called "Slanted Walls". Today, we will explore how to use this tool and why should we be happy to have this feature.
Previously, drawing walls that are at an angle to the horizontal, or to the general direction of other normal walls, has been a major pain. In the past versions, you would have had to use the "Mass" option, and combine it with the "Curtain" feature. That is complicated, error-prone, and could quickly get messed up. However, in Revit 2021, there's a simple tool you can use to draw angled or leaning walls without all that mucking around in mass and curtain tools – that is the Slanted Wall feature.
How to use slanted wall in Revit 2021
Now let us see how to use the Slanted Wall tool in Revit 2021 in 3 easy steps.
Step 1: Change the wall cross-section type
Revit uses a cross-section parameter for all wall type objects. Go to the wall properties box, find the "Cross-Section" parameter. It will be defined "Vertical" by default. Open that drop-down list and you will see a "Slanted" option is also there – select that.
Step 2: Define the angle
Keep an eye in that box while you perform the above step – it will change a bit as soon as defined the wall as slanted. Specifically, a new parameter will appear below the cross-section now, it will be labelled "Angle from Vertical".
In the box on its right, you can now select or type the value of the inclination angle of the wall (related to the vertical plane). You can also do this by clicking and dragging the boundary point right in the drawing.
Note that you can only select a value from 90° to -90° only. Makes sense, because at 90 degrees to the vertical, the wall becomes a floor, and any more than that and the wall goes through the floor. That's not exactly physics, is it?
Step 3: Orient the wall fixtures
By this time, you are done actually building the wall. However, there's still the matter of the things that go on the wall. Like doors and windows – on a slanted wall, vertically built windows don't make much sense, do they? So, now you have to change the orientation of the windows and doors that you've built into the wall. By default, they will stand straight up.
To do this, select the window instance and open its properties. You'll find the orientation parameter in there, change that to "Slanted" instead of the default vertical, just like with the wall. Happily, you won't have to manually specify the angle to vertical in this case – the window will match the angle of the wall it's on. Cool, yeah?
You can do it exactly the same way with doors – though, I don't know anybody who would want to have a slanted door, would they?
That's it, it was that easy.
Important points to remember about Slanted Walls in Revit 2021
A. Sweeps and Reveals
There are two features in Revit that you probably use often with walls – Seeps and Reveals. When you try using them on a slanted wall in Revit 2021, don't worry, they will recognize the wall angle and match with it accordingly.
B. Issue with dimensions
In the Plan View, you can see all the layers of a wall in the Fine level of detail. However, you can't add dimensions inside the layers of a slanted wall as of now. You can, however, create a section view, and there it is possible to add dimensions inside a slanted wall's layers.
C. Curtain on Slanted
Previously, you had to use curtain walls to create and inclined wall – but now if you try to build a curtain wall on a slanted wall, they would meld beautifully, matching the slope with ease.
D. Don't lean too much
For obvious reasons, don't try to use excessively high values for the vertical angle of a slanted wall. While it is theoretically possible to create a slanted wall between ±90°, but in practice, you will obviously see that anything above 45° looks (and indeed, is) ridiculous and can't be practical. Not a wall, that is. So, unless you are having a laugh or proving a point, just keep the slant angle small. We find a slant of 10-20 degrees is the most practical yet aesthetic.

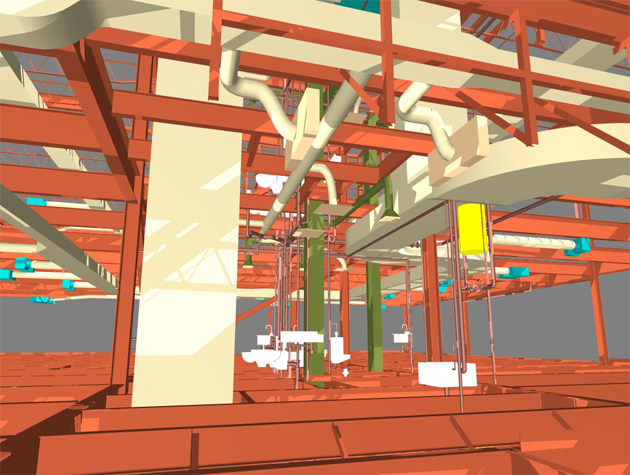
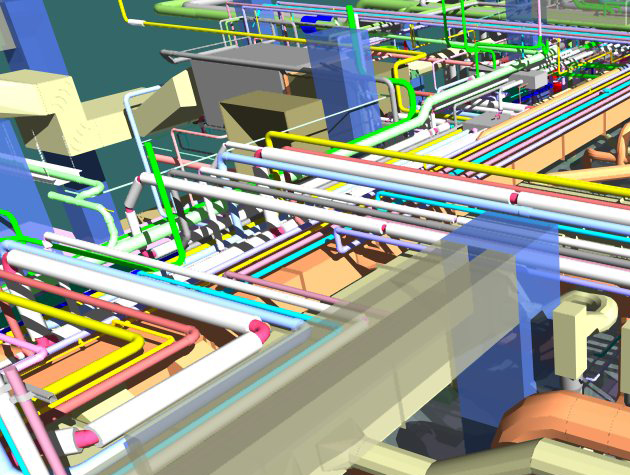
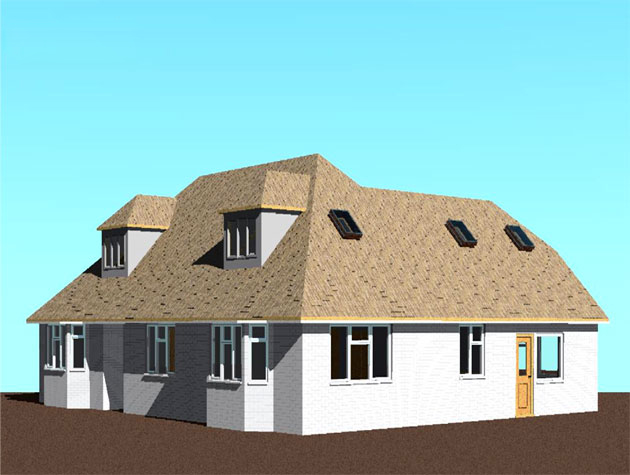
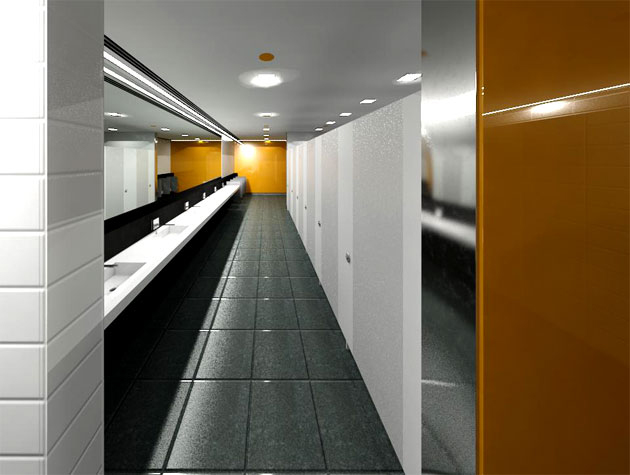
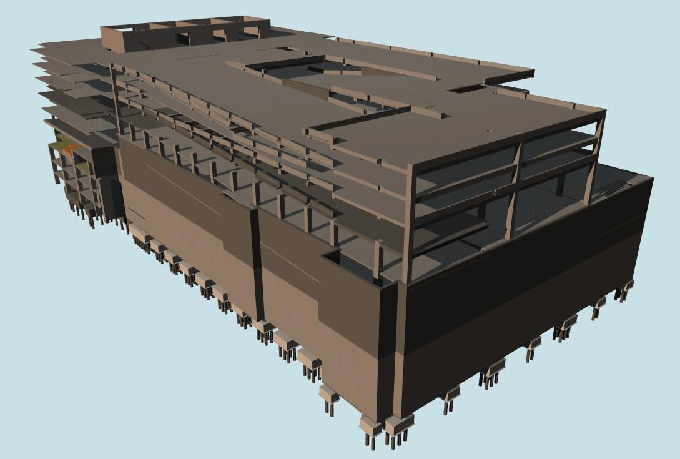
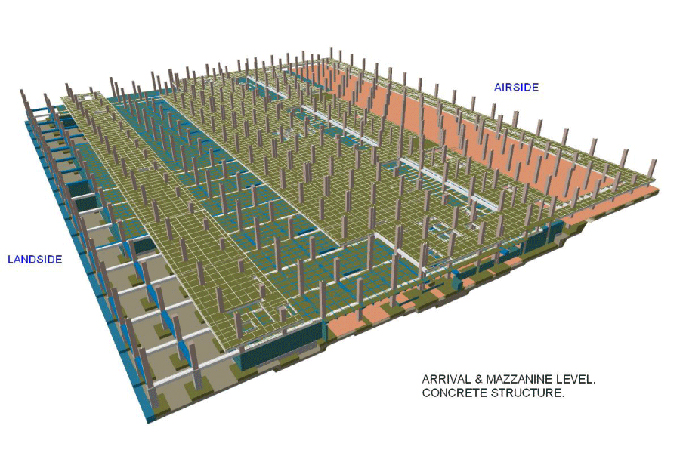
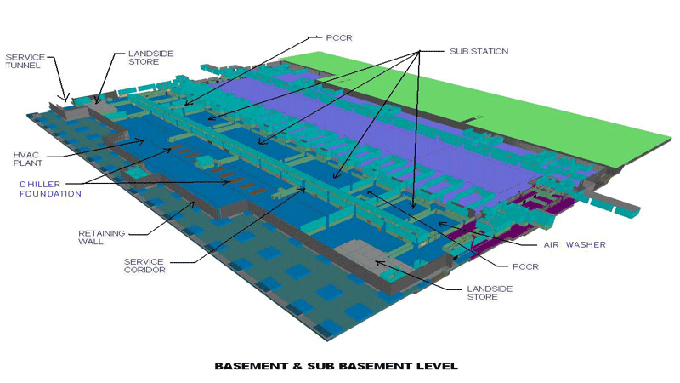
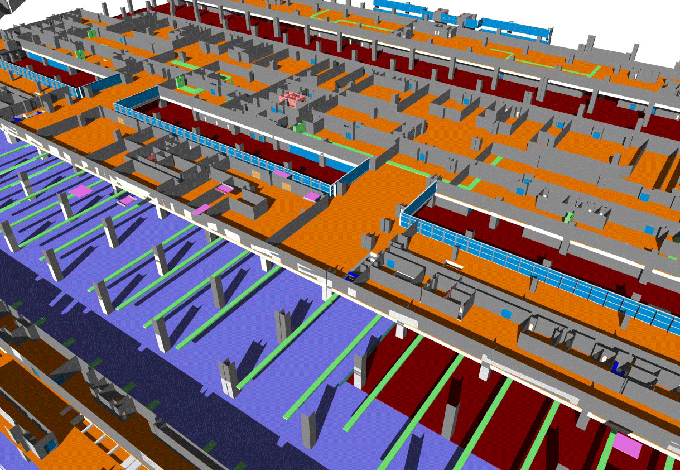
Gallery
Feel free to contact us for BIM requirements. One of our representative will respond you within 24 Hours. Send us your projects requirement today and grow your project.
Explore More !