How segmentation of precast walls are done automatically in Revit

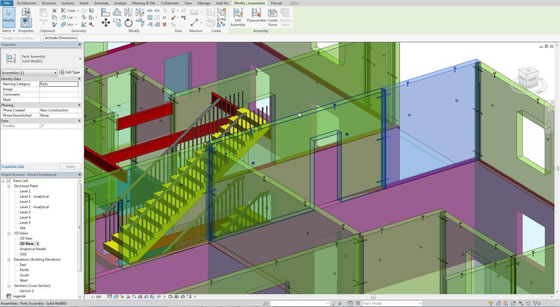
This Revit video tutorial sheds light on automatic segmentation of precast walls in Revit. With split command it is possible to obtain wall parts, lifters, bushing and connections grouped automatically into a precast assembly.
Segmentation of precast walls is performed automatically or manually. Prior to start the automatic segmentation, the Configuration Settings should be examined and modified.
The Configuration settings are imported or exported through XML files to distribute the rules over various users without any difficulty, functioning on the similar or various projects.
Lifters, Bracing Inserts and Connections are arranged on the part tab. Here, the types of elements to be utilized and their positions inside precast assemblies are determined.
All the connections and built-in parts belong to Revit families and can be adjusted as per the needs of the project.
On the Segmentation Tab, the rules for splitting are set on the basis of fabrication, transportation or other functional requirements.
For the segmentation of walls, all the walls should be selected and split command should be pressed to form the precast wall assemblies. Lifters, bushings and connection are formed as per the rules from the Configuration settings.
Once the wall segmentation is completed, both the original components and parts (which are just formed) are visible.
The parts are demonstrated to review the effect of the Split in an efficient manner.

Evaluate the original components at any time by toggling among various LODs (Level of Development) smoothly.
For more information, go through the following link blogs.autodesk.com
